Download and copy the Ubuntu server ISO image to /var/lib/libvirt/images/ folder.
Start virt-manager
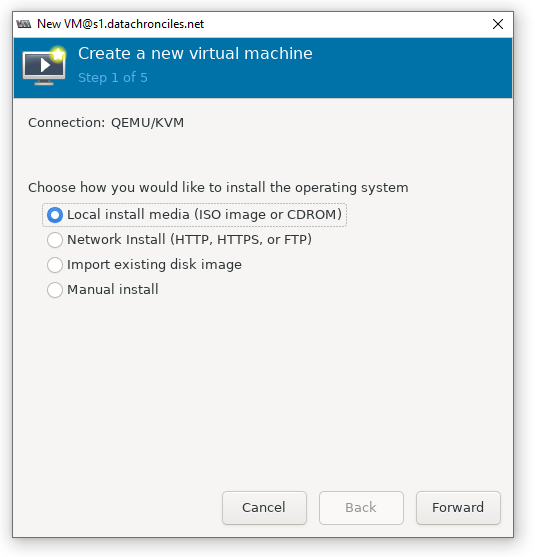
Create a new VM (File -> New Virtual Machine) and choose local install media
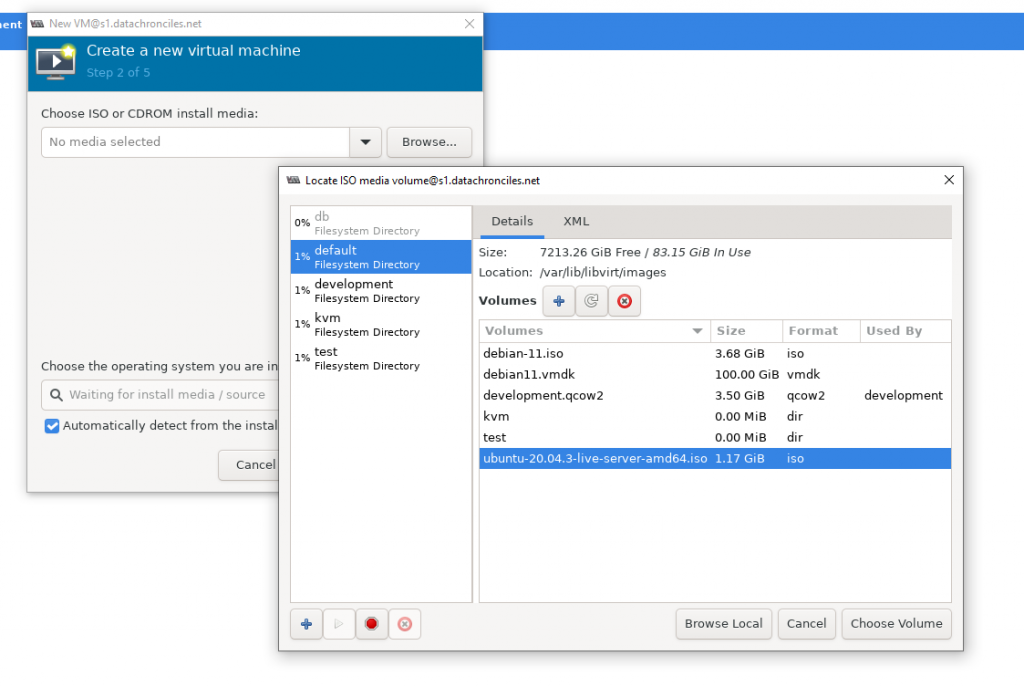
Click on browse, select the downloaded image
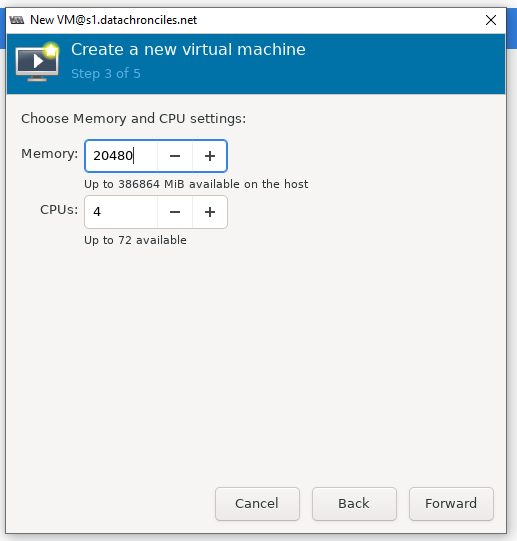
Allocate/assign CPU and memory resources
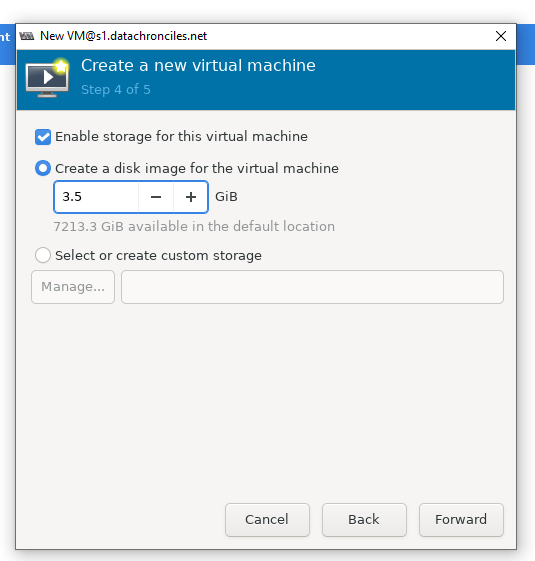
Allocate/assign storage as much as required.
Provide a name and select a network interface. In my case, I had created a “br1” bridge and will use the same.
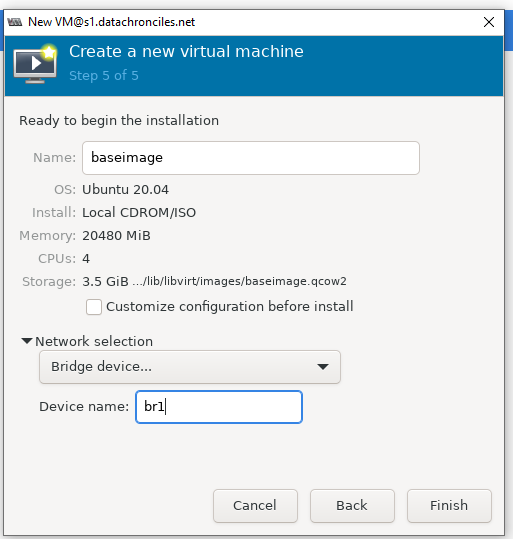
Start installation
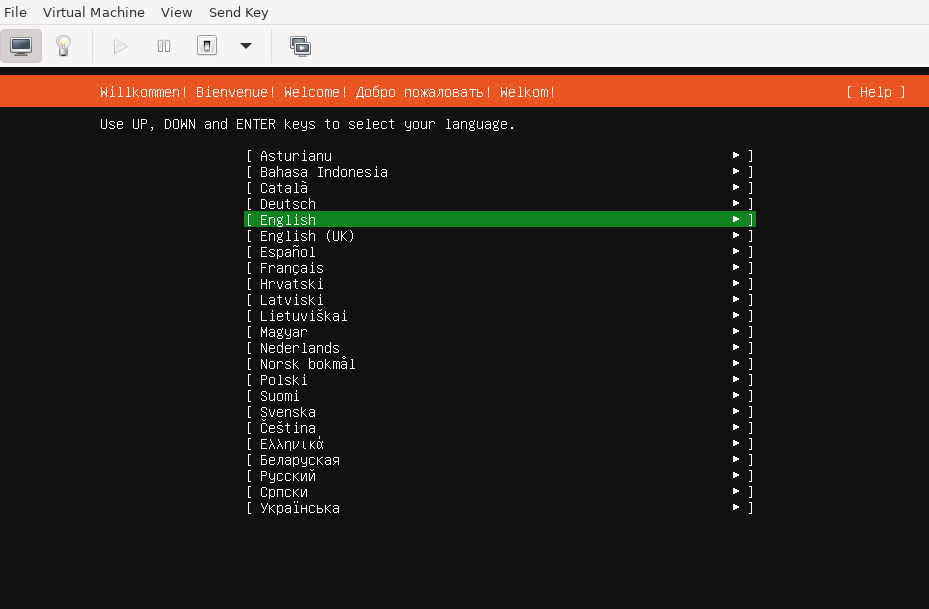
Follow the steps detailed here.
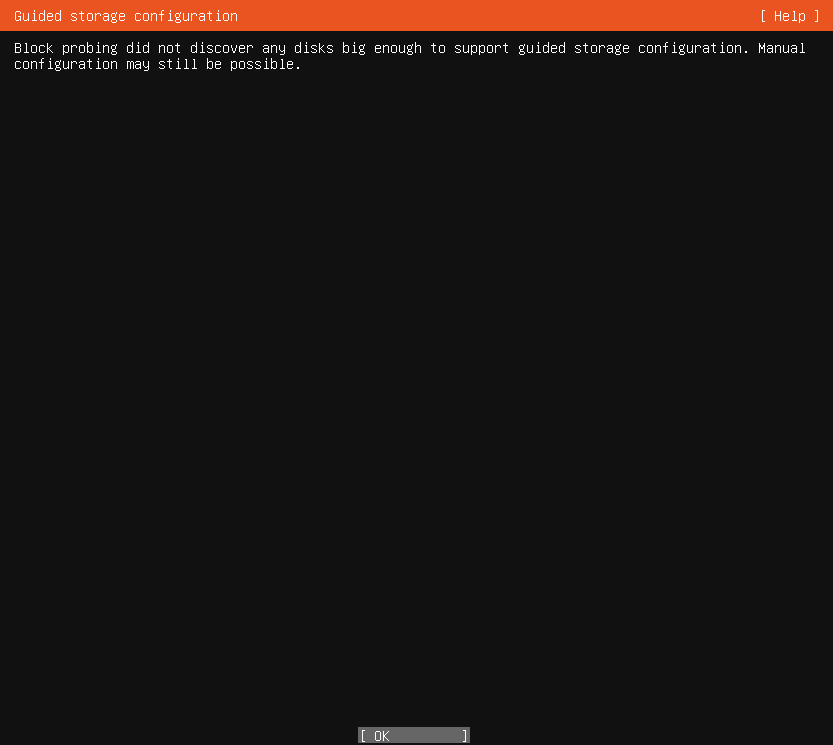
Note: If the disk size is too small for auto-partitioning to happen the following would appear, continue to install