[ Previous: Cinder (9/9) ] [ Test Home Lab ]
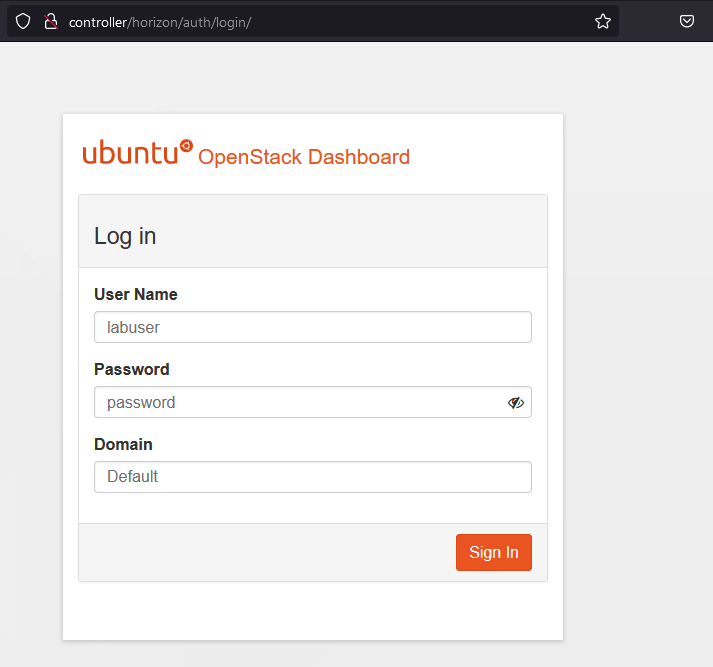
Access http://controller/horizon and log in using the ‘labuser’ account created
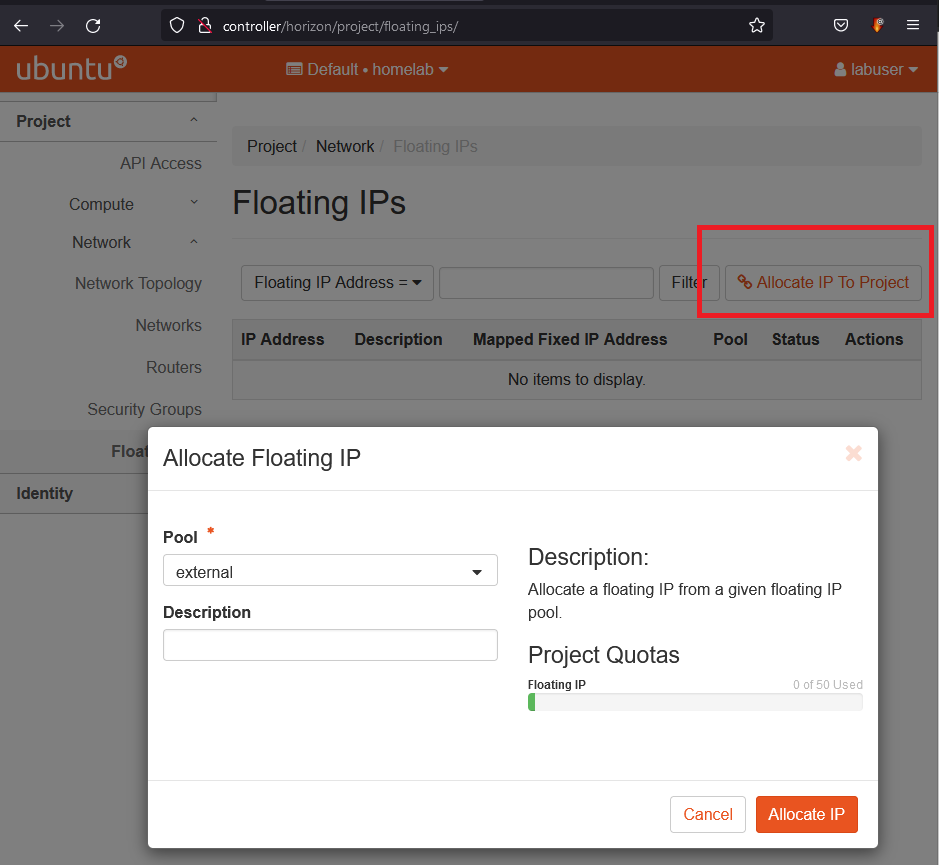
We will need one floating IP to associate with the test VM we will bring up – Let us allocate on floating IP. Choose Network->Floating IP option in the dashboard.

Click on Allocate IP to project and then when the dialog box pops up just click on “Allocate IP”.
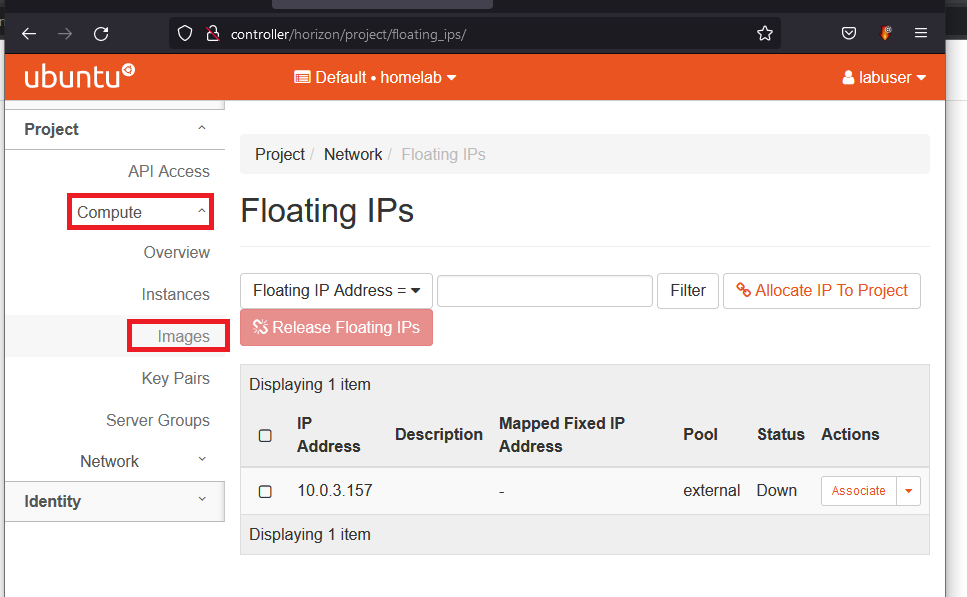
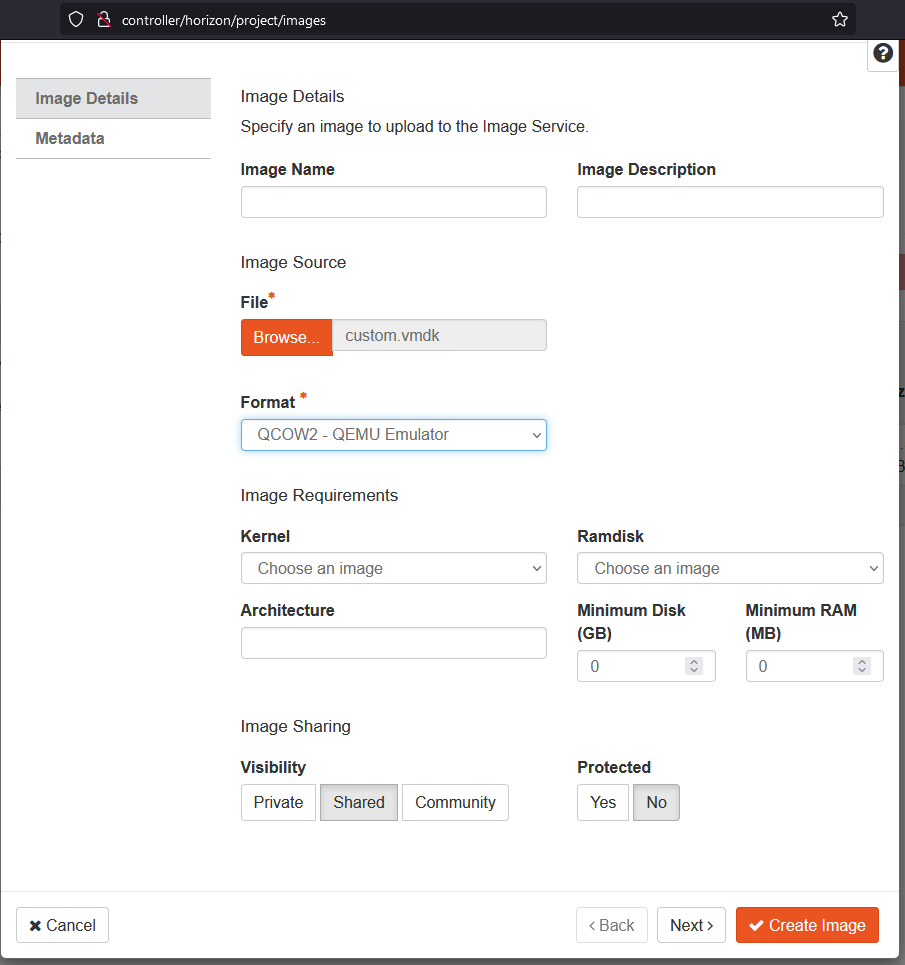
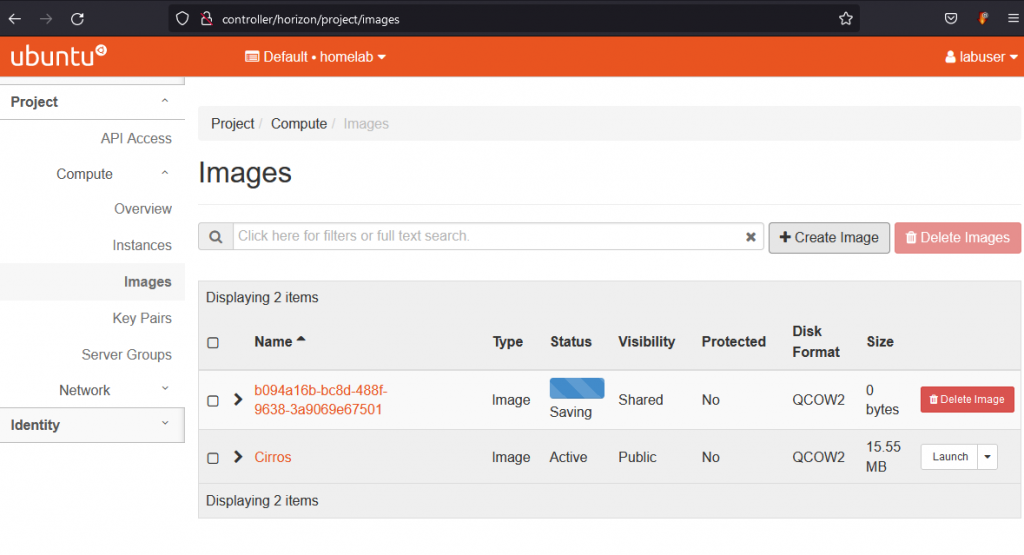
Let us upload a custom qcow2 image to the glance repository. Select Compute -> Images option.
Click on Create Image, provide the image details in the dialog box and click on the “Create Image” Button.
Wait until image ‘Saving’ completes
Select Compute -> Instances -and click on “Launch Instance”. Provide Instance Name
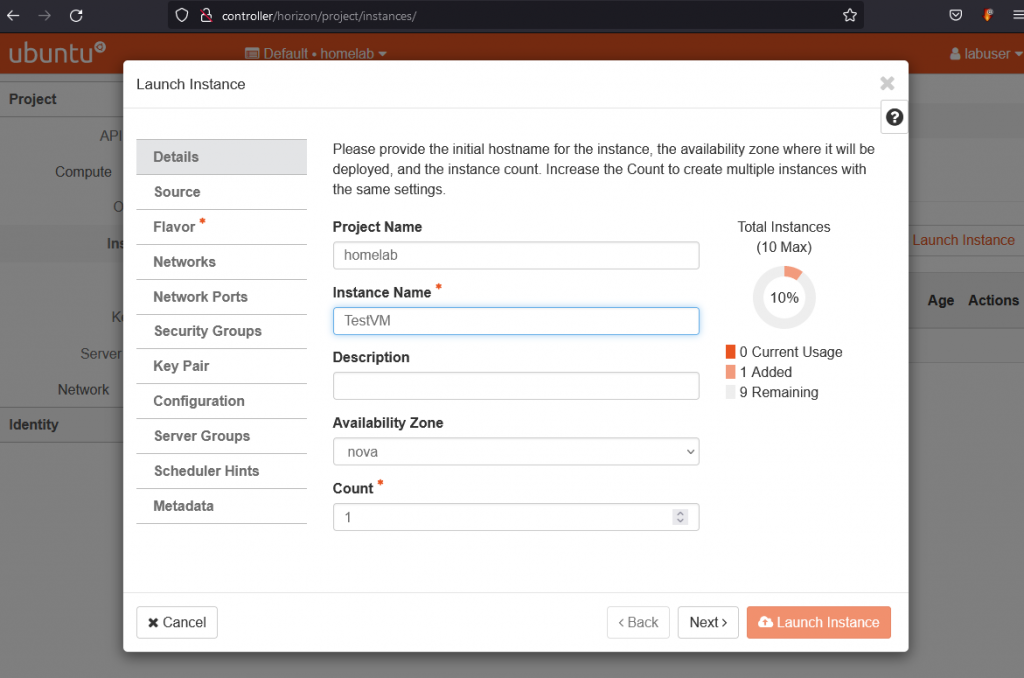
Select the Test Image uploaded

Select the Flavor

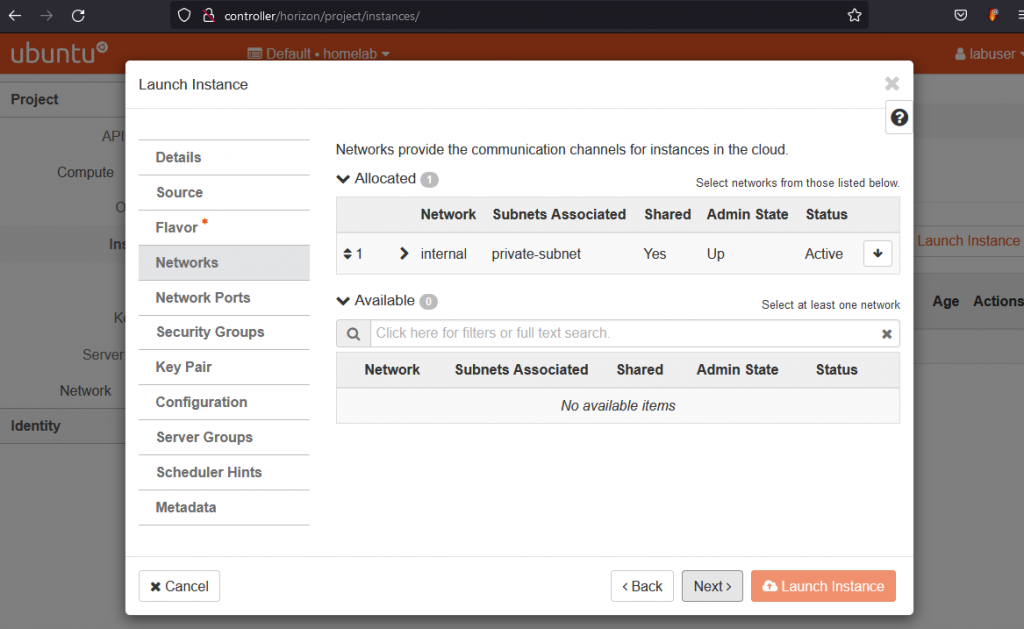
Network is autoselected – Just continue
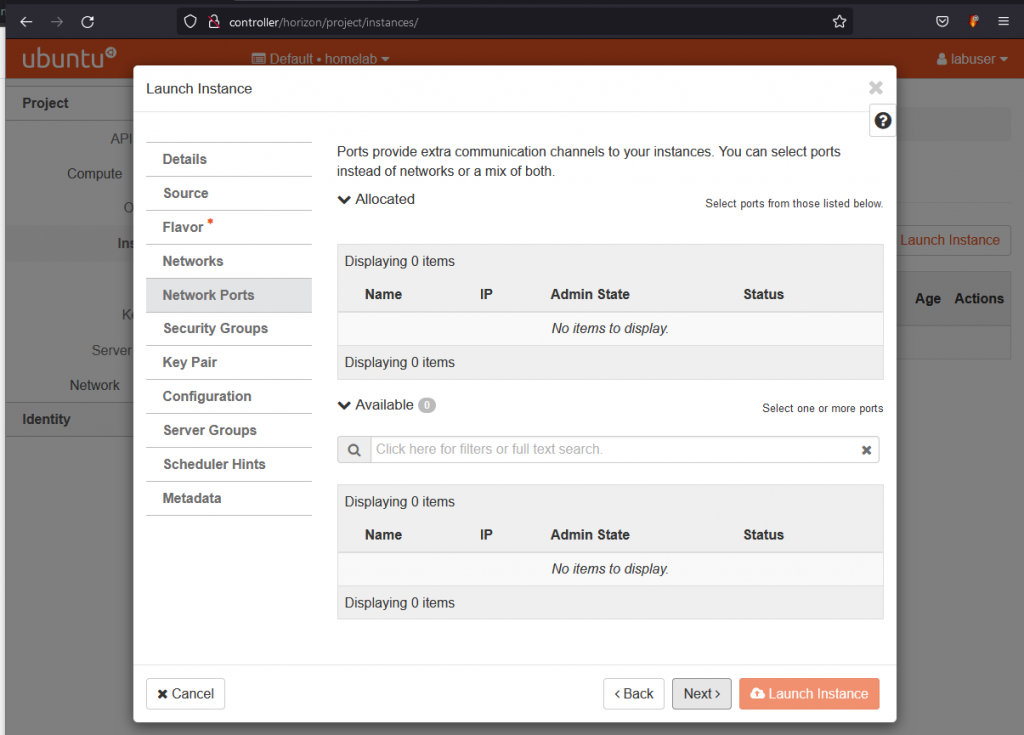
Ports – No selection – Just continue by clicking Next
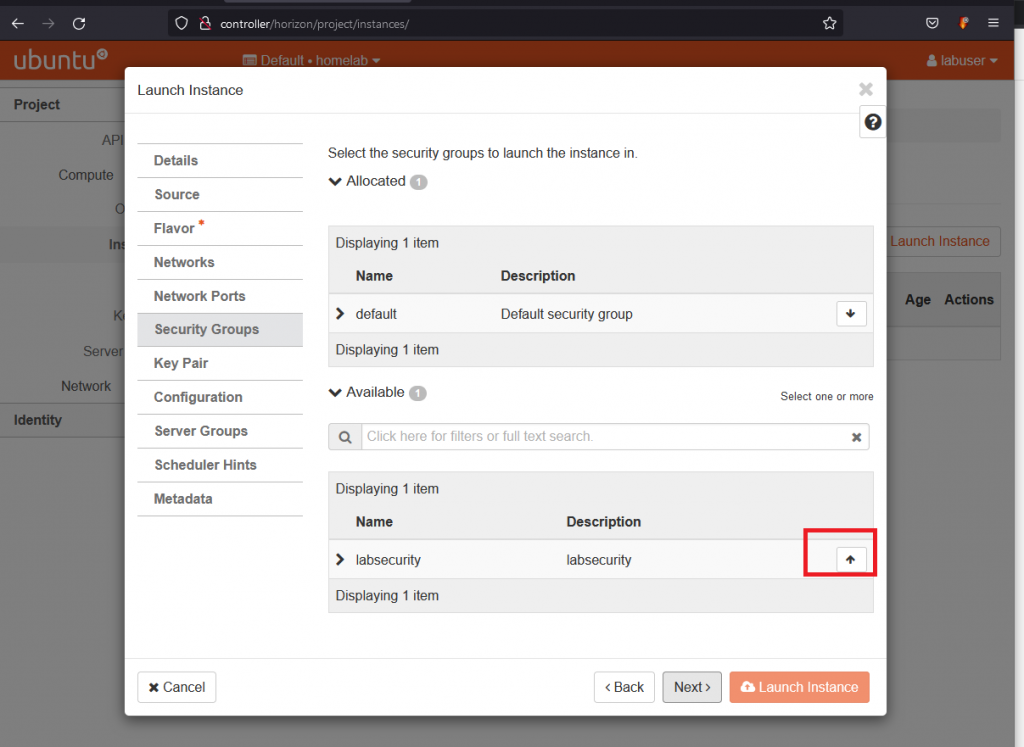
Select security group ‘labsecurity’ and click on “Launch Instance”
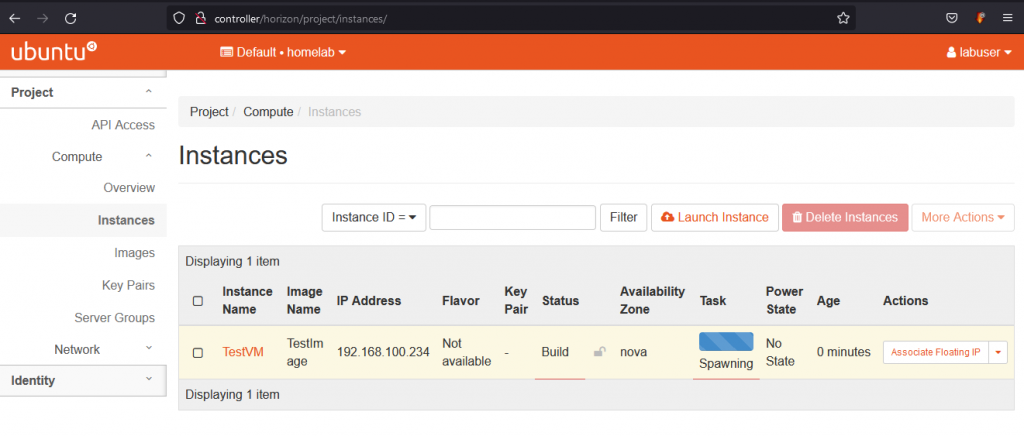
Click on Associate Floating IP
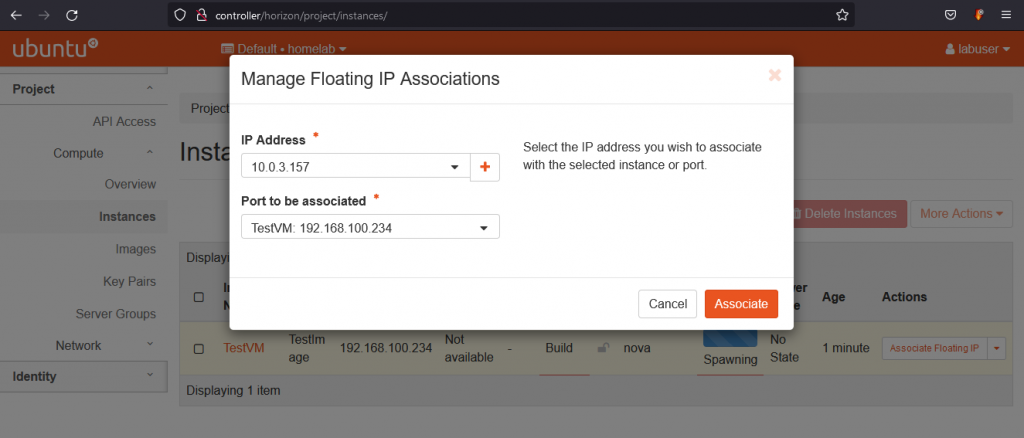
Select the floating IP and click Associated
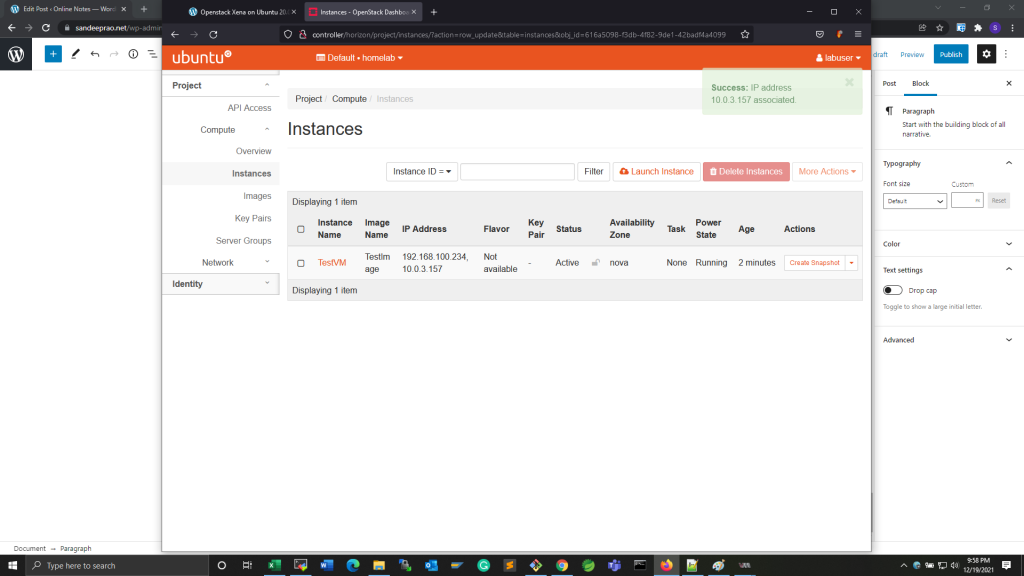
Once the status of the VM moves to running – VM launch is complete and can be tested.
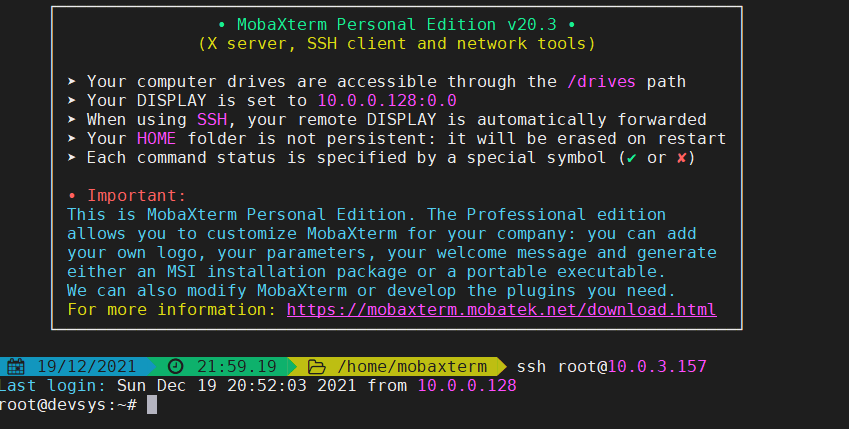
For testing ssh into the VM from another node.
[ Previous: Cinder (9/9) ] [ Test Home Lab ]