Start virt-manager on the KVM host and note the name of the guest VM. (In my case I want to take a backup of the OpenStack VM)
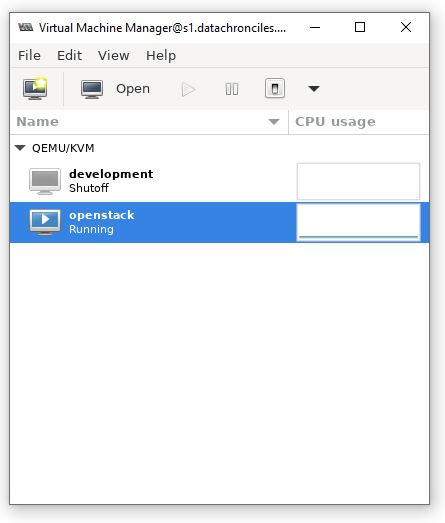
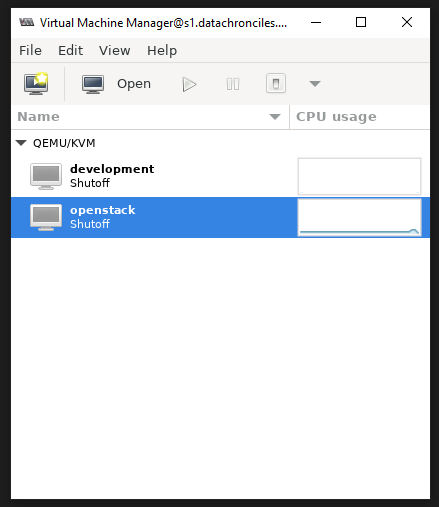
The instance is running. It is recommended to shut down the instance before taking a backup.
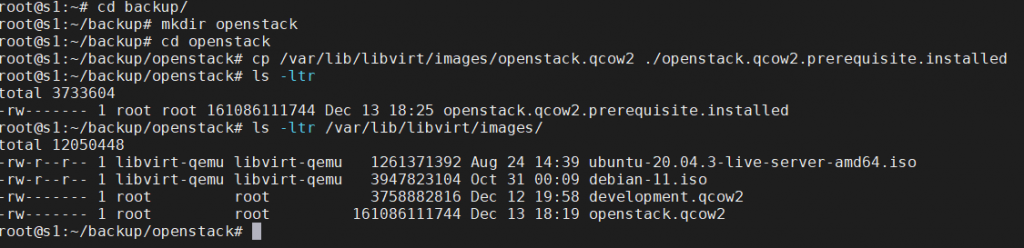
In the KVM host create a backup folder as required and copy the VM image <VMName>.qcow2 in /var/lib/libvirt/images/ to the backup folder with the planned backup image name.
In case you would want to make use of the backup. Copy the backup file to /var/lib/libvirt/images/<newimagename>.qcow2. (Reason for using the new name, the old one already exists, do not want to overwrite).
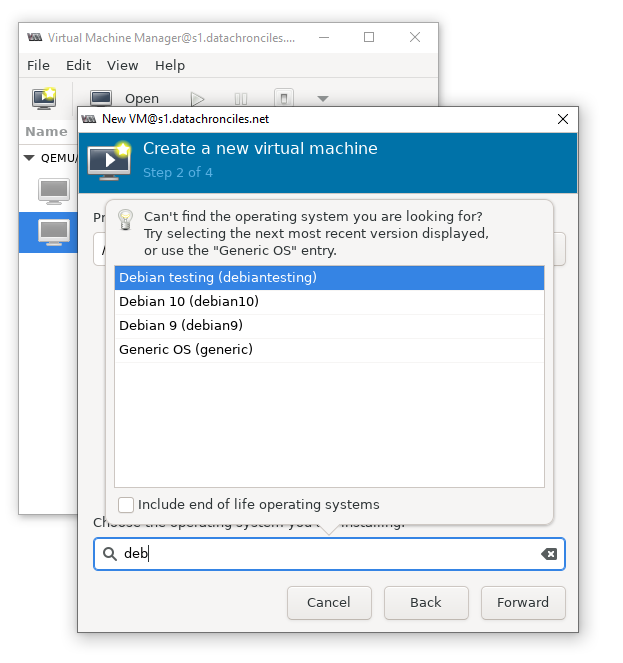
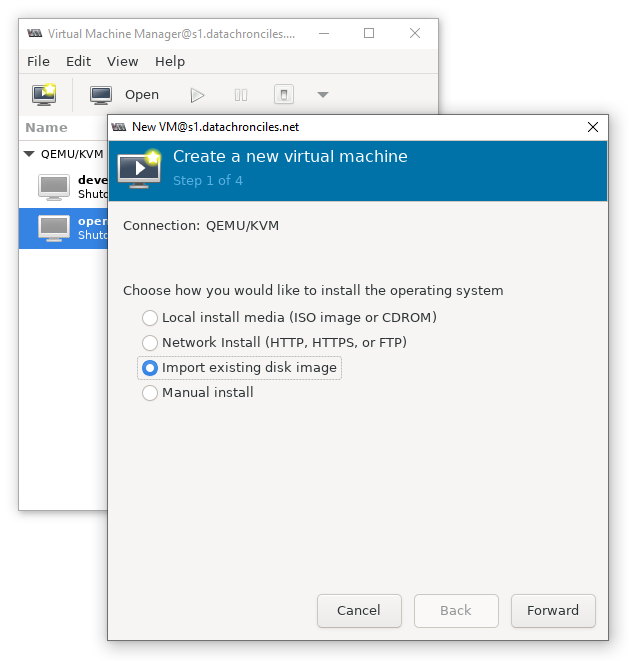
From virt-manager choose to create a new VM, File->New Virtual Machine, and select import existing image
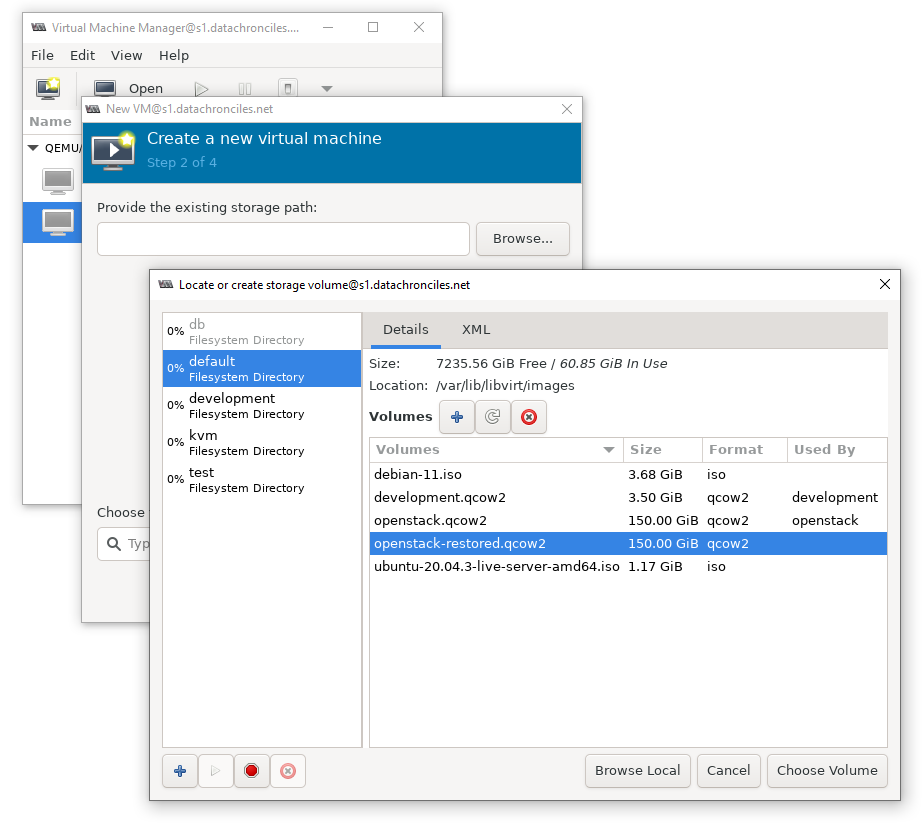
Click on the browse button and select the restored image qcow2 file.
Continue the bring up of VM, further steps, as explained here.