Download and burn the ISO image onto a USB stick and plug in the USB stick in the server.
Power On the server (in my case, it is Dell R430)
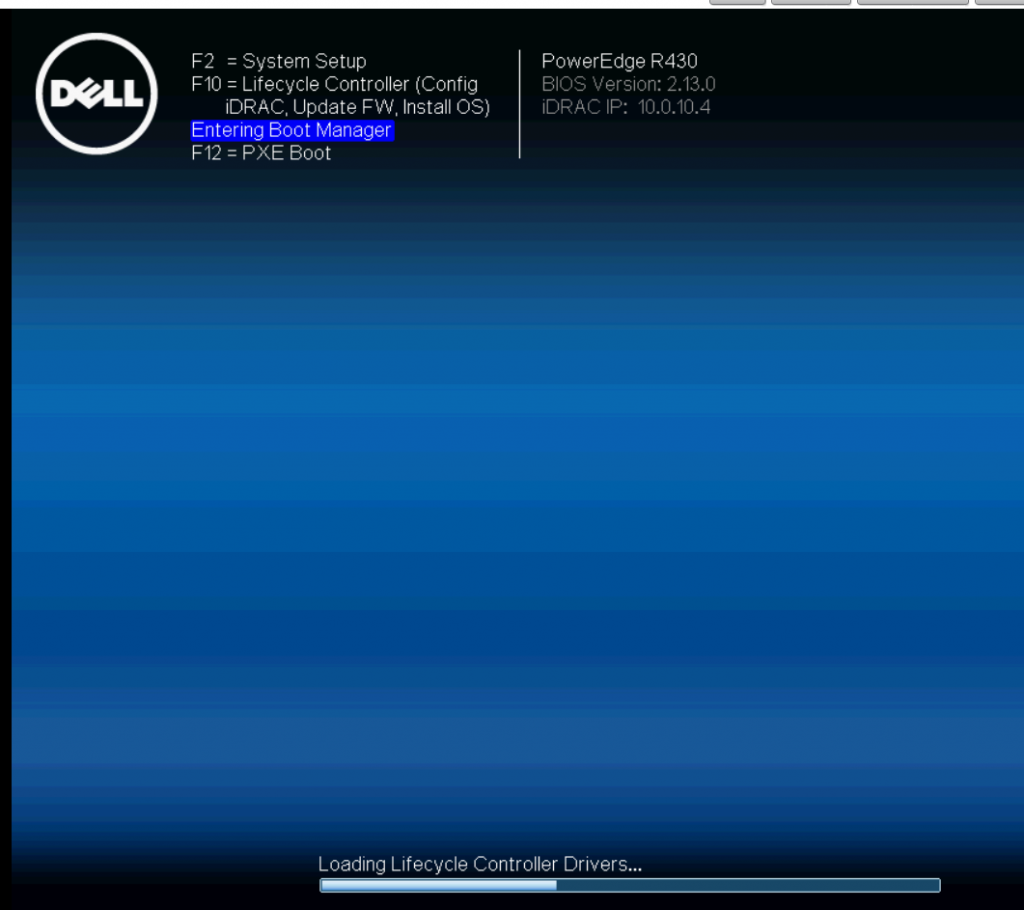
Press F11 to enter boot manager
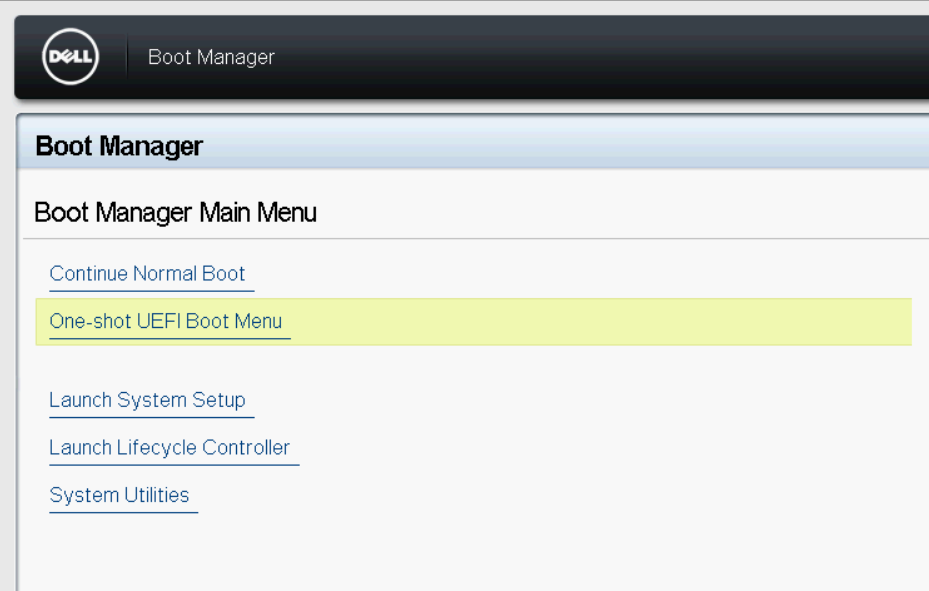
Select one-shot UEFI menu
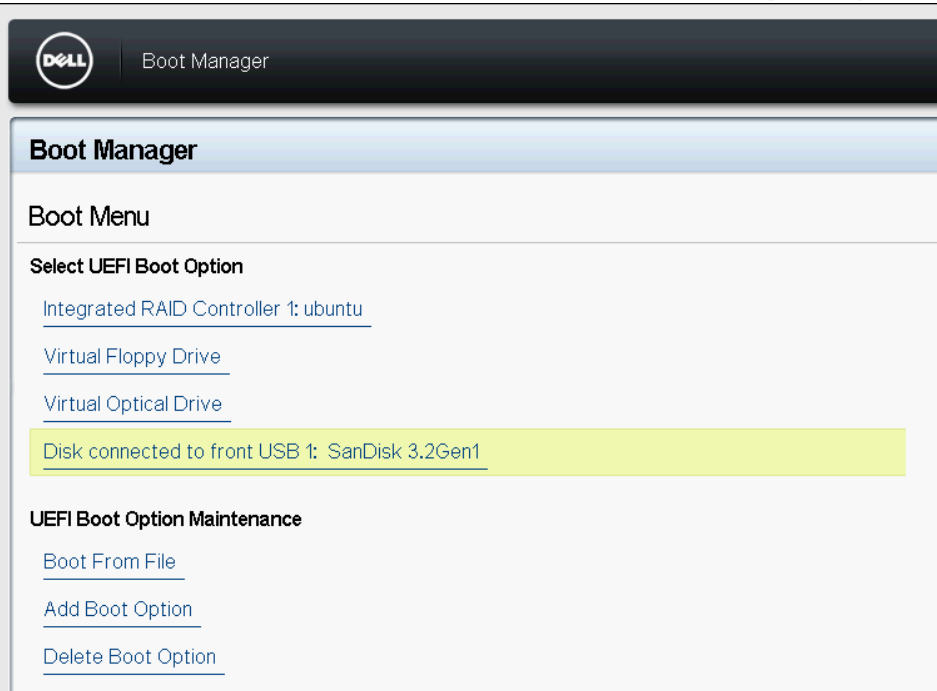
Select boot from the USB stick
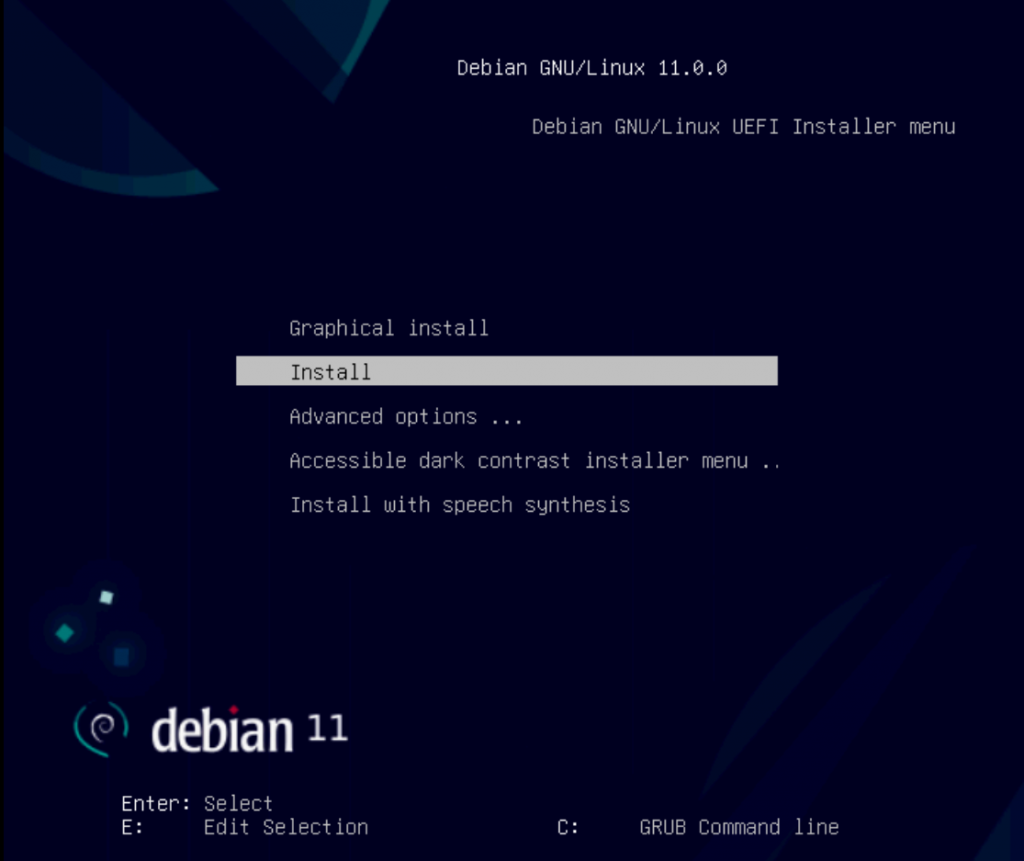
Start installation (I prefer to use non-graphical)
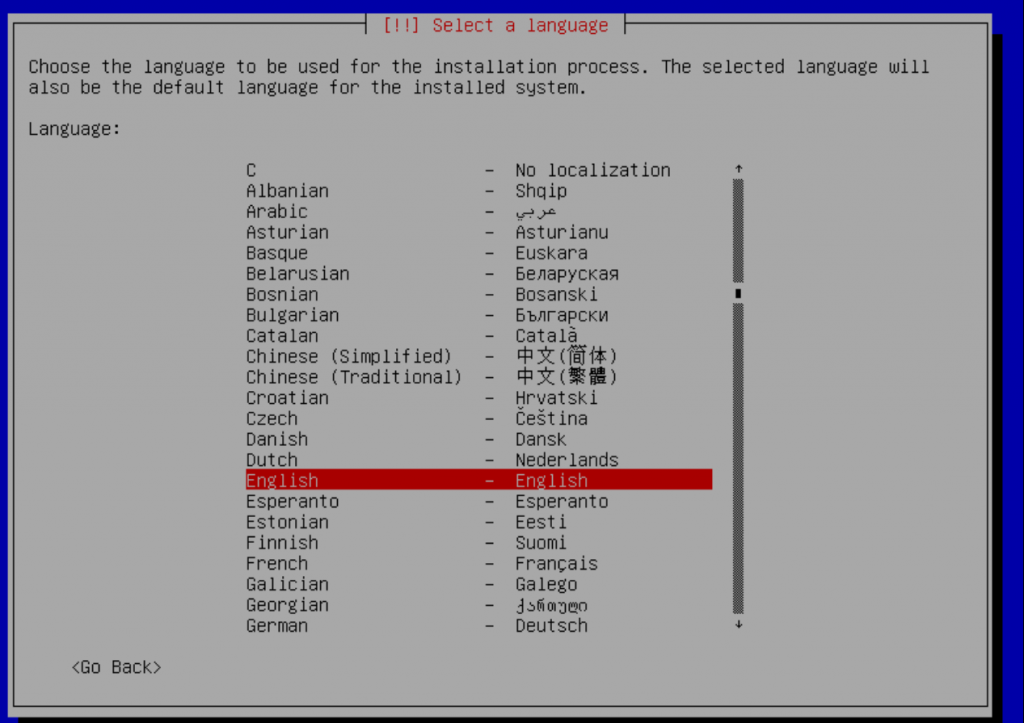
Select Language – English (default)
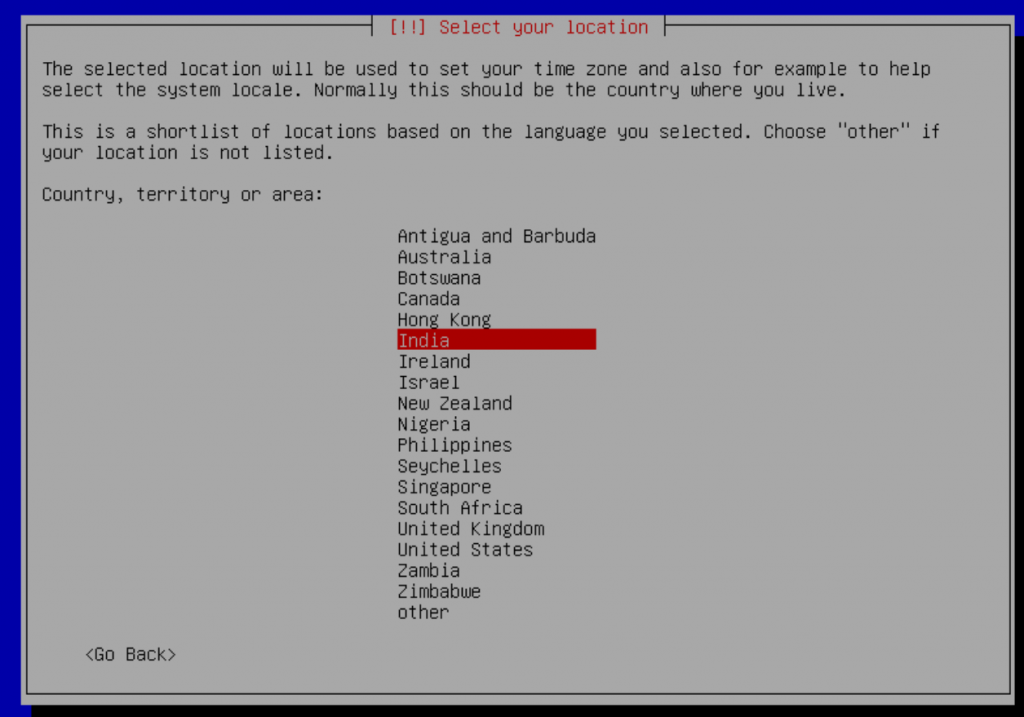
Select location / time zone
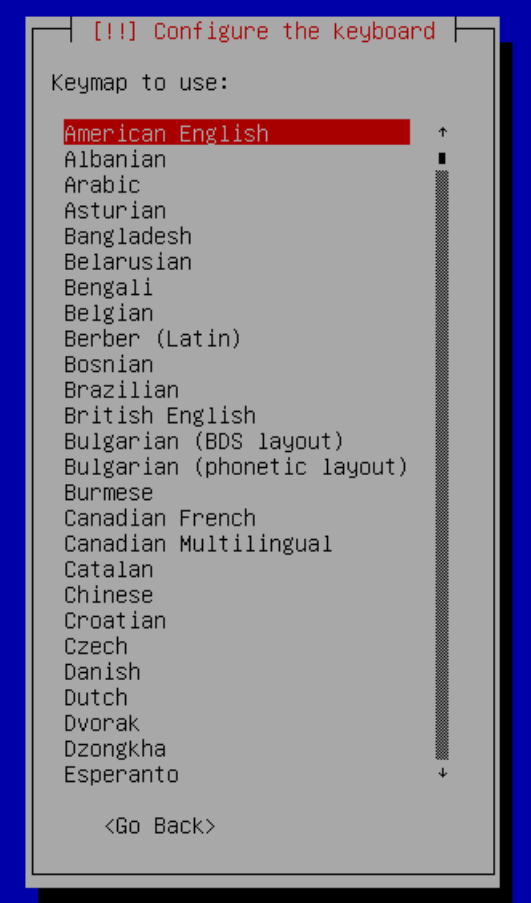
Configure keyboard layout – default
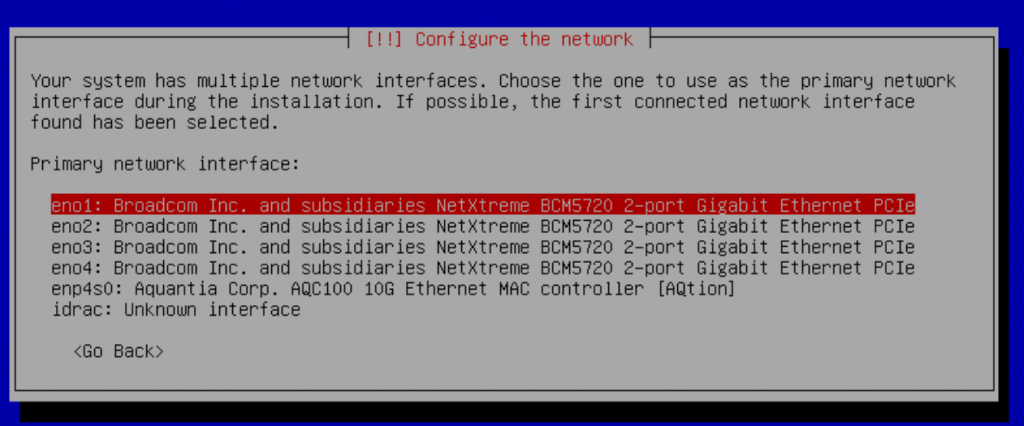
Select primary network interface
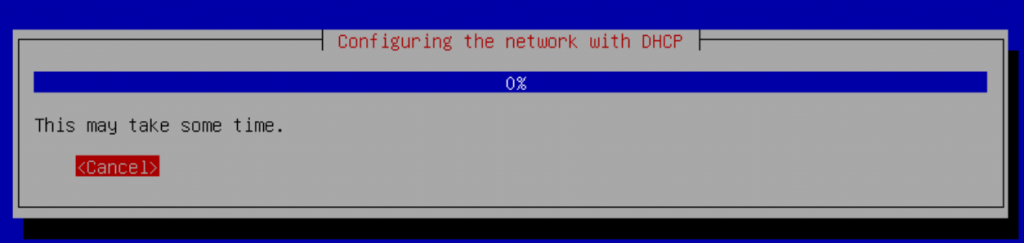
Cancel Ip configuration via DHCP (if you had missed it, use the Back option in the following dialog and select configure network manually) – I prefer to set static IP.
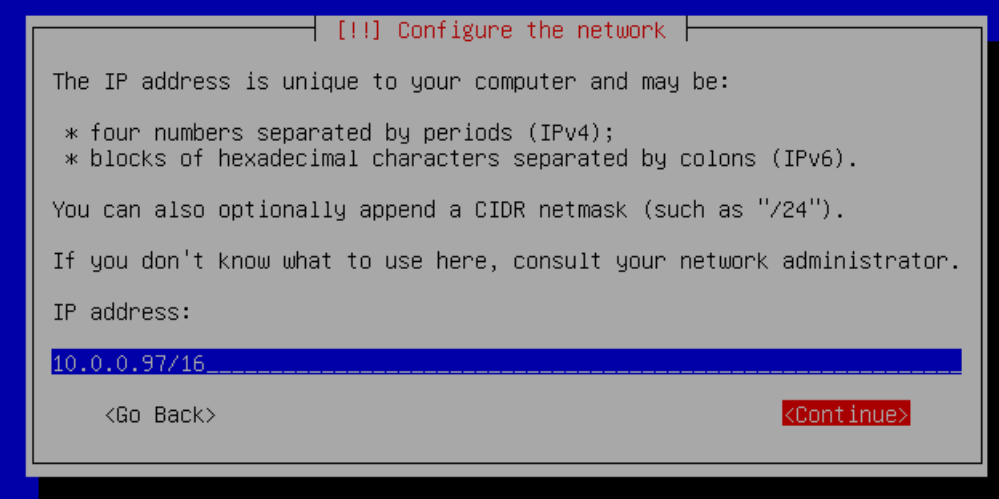
Configure network manually

Configure the static IP
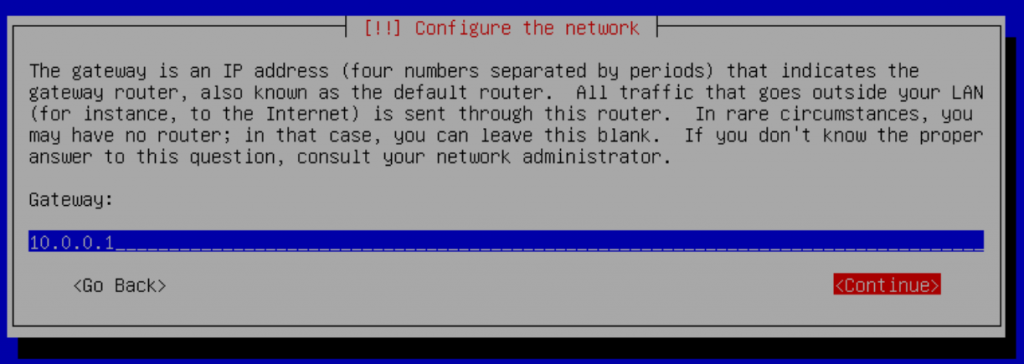
Configure gateway IP
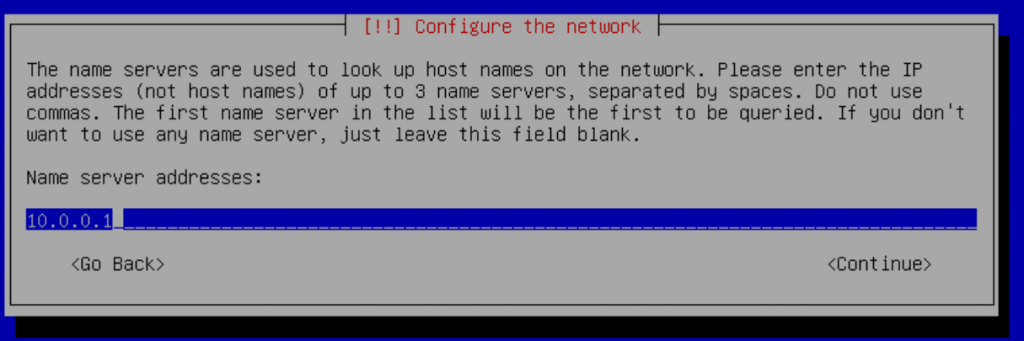
Configure name server
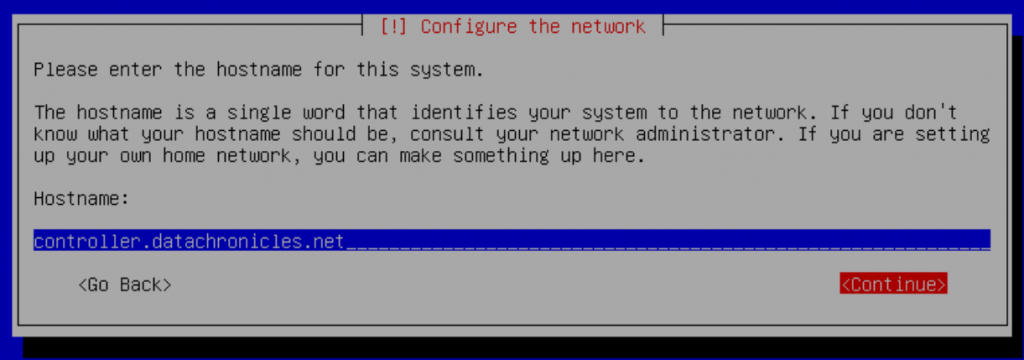
Configure hostname (I prefer to provide including the domain name – if not provided, the installer will solicit in a separate dialog)
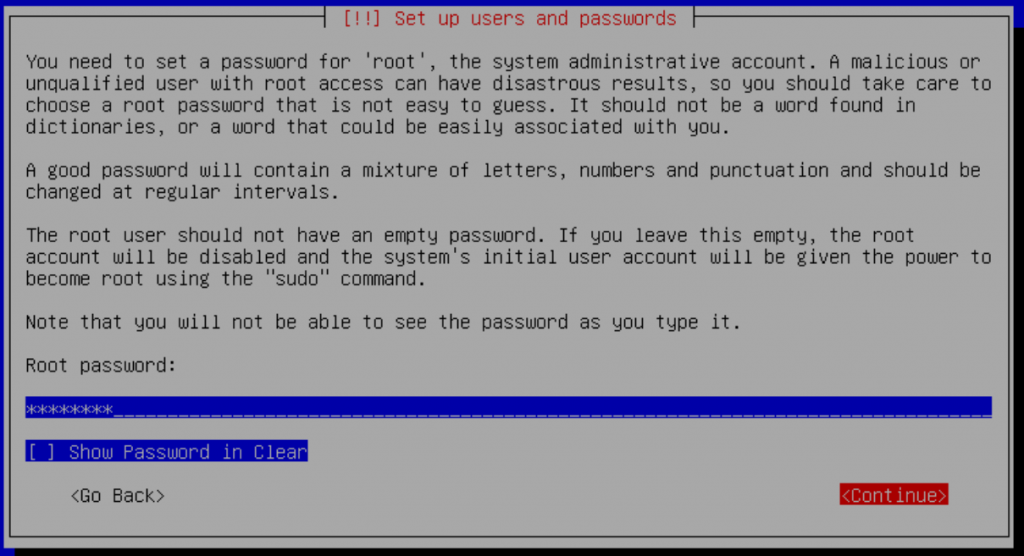
Set password for the root account
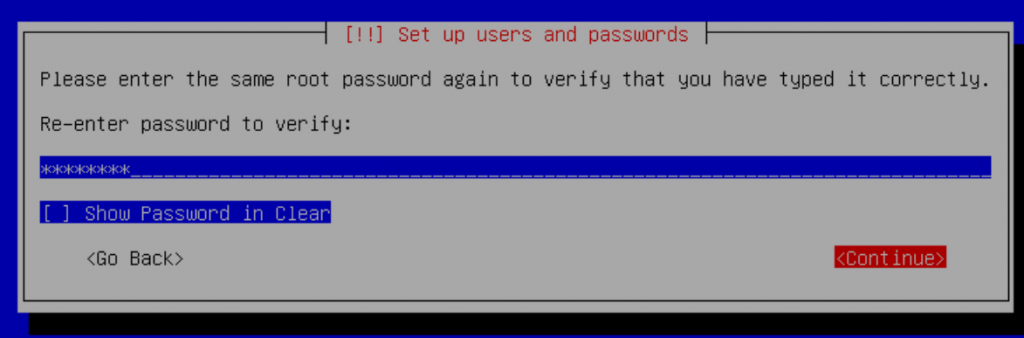
Re-enter / confirm root password
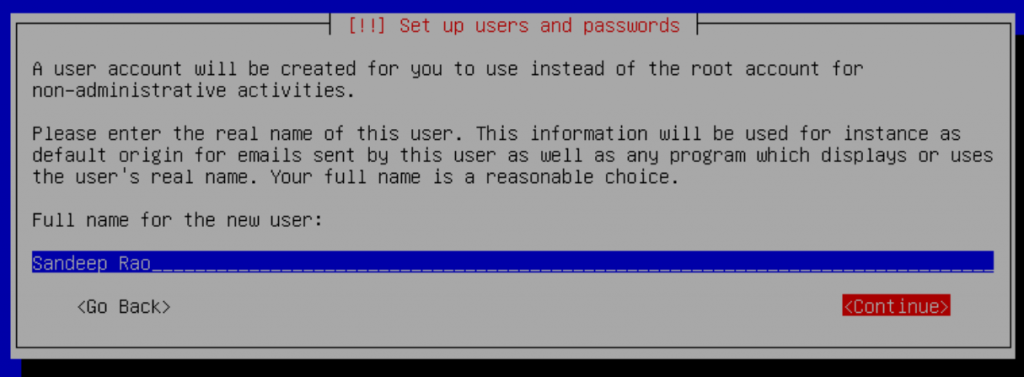
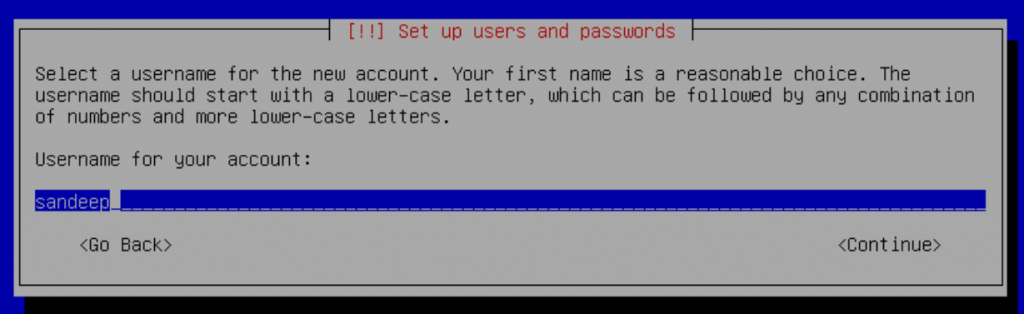
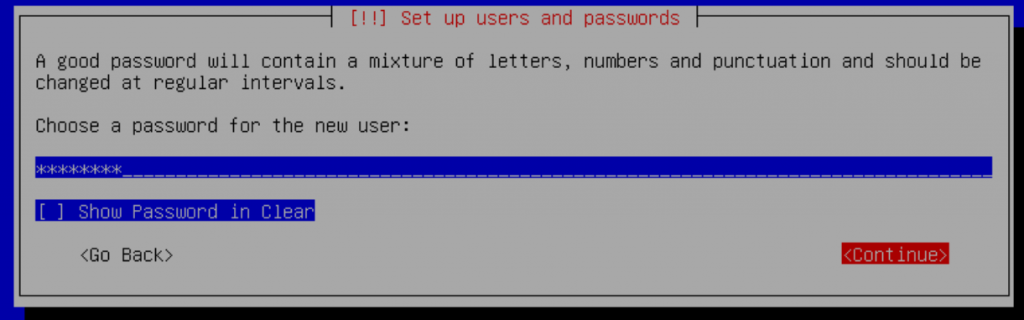
Configure a non-root user account

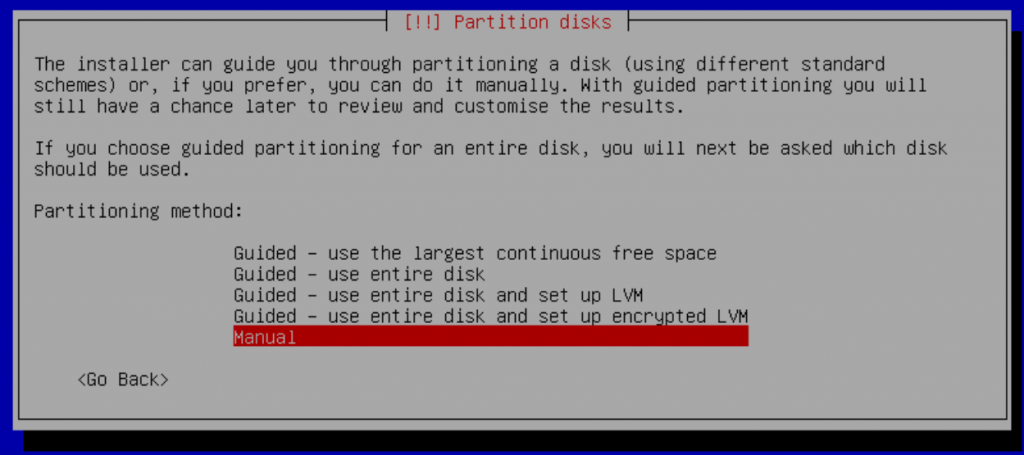
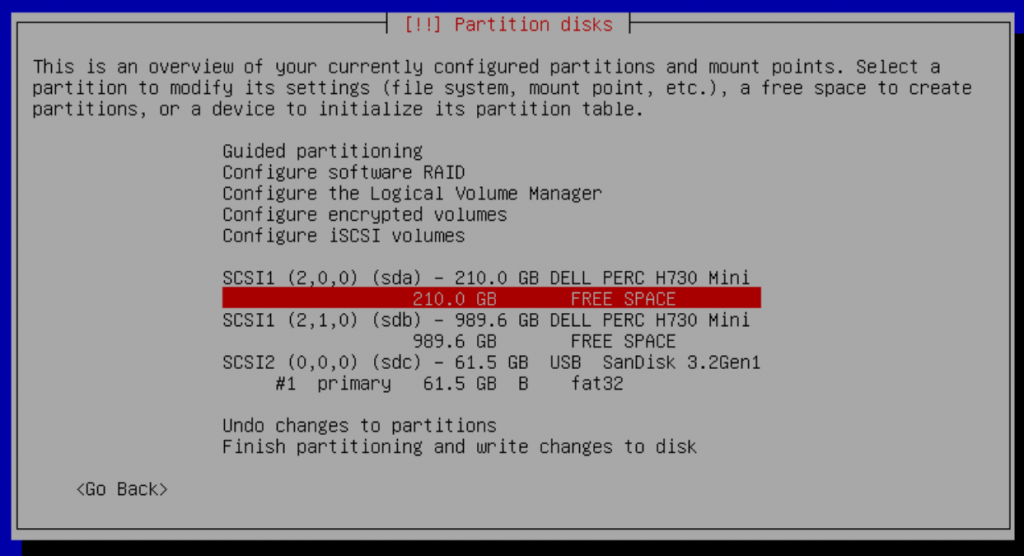
Disk partitioning – let us do it manually – my preference. One primary partition for GRUB and the other for ‘/.’
Choose the partition
Creating a primary partition for GRUB – 1G is sufficient
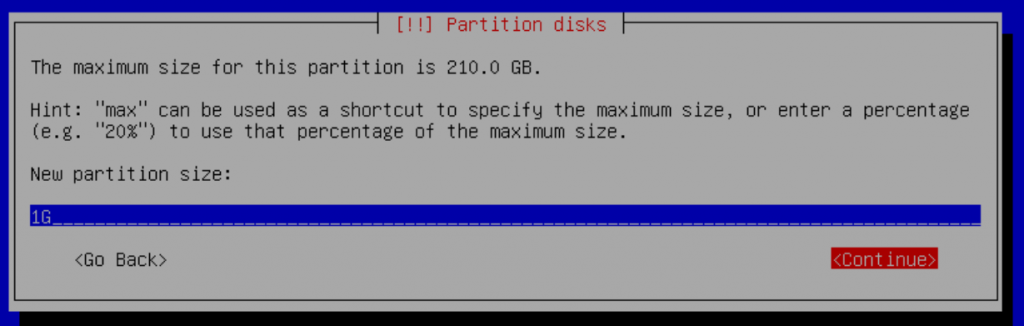
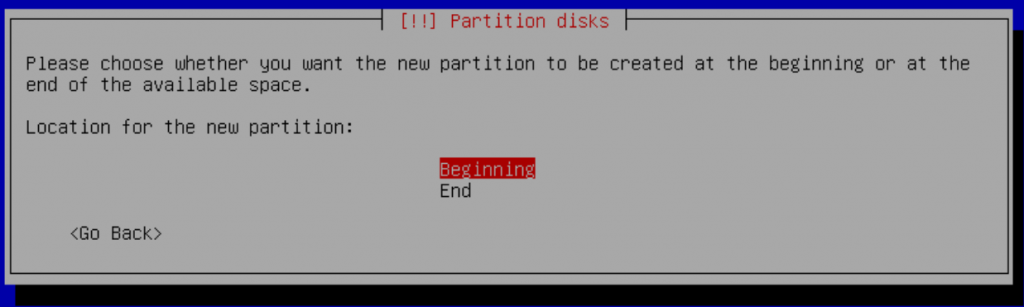
Of course, at the beginning
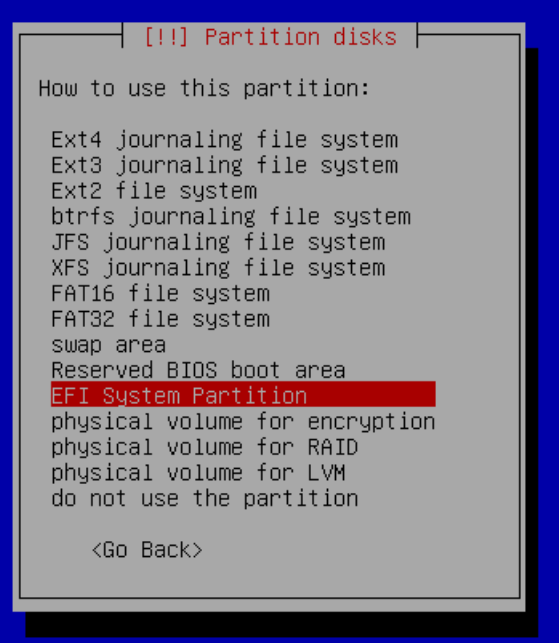
We want to use for GRUB – so select the ‘Use As’ option
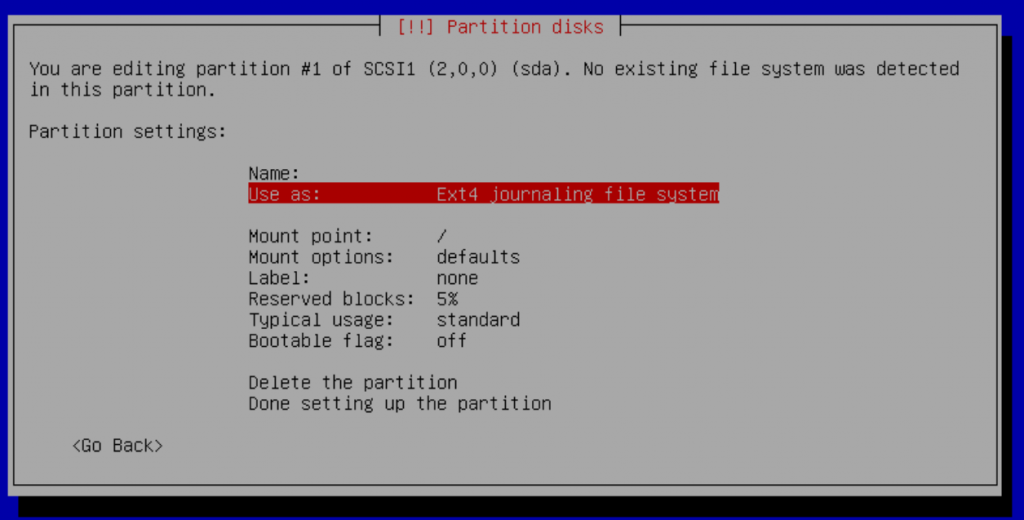
Select EFI Partition
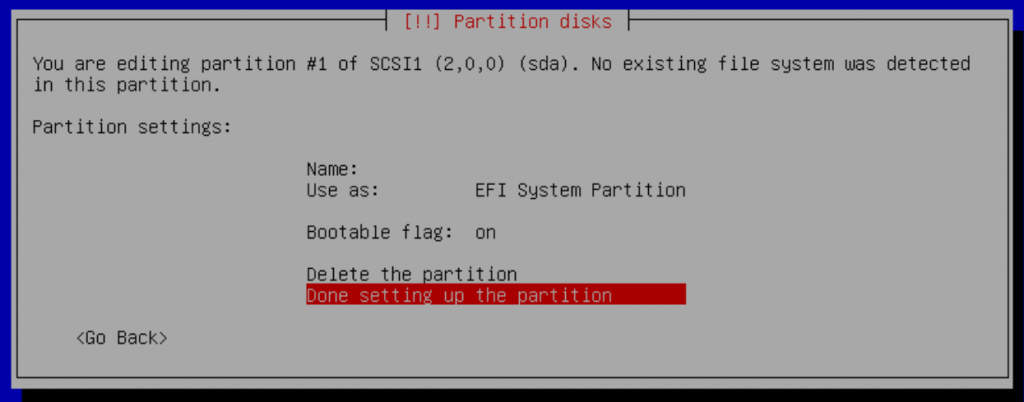
Complete setting up the GRUB partition
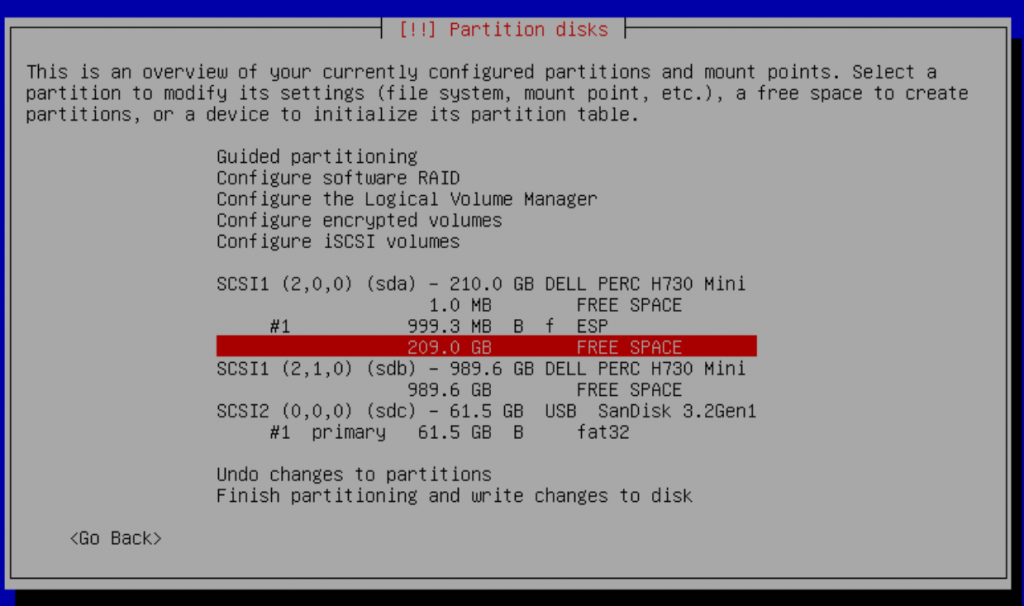
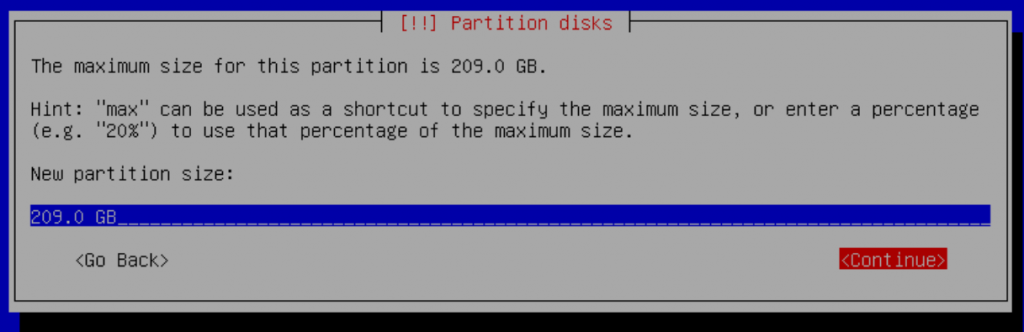
Select the free space and repeat the partition creation for ‘/’ partition
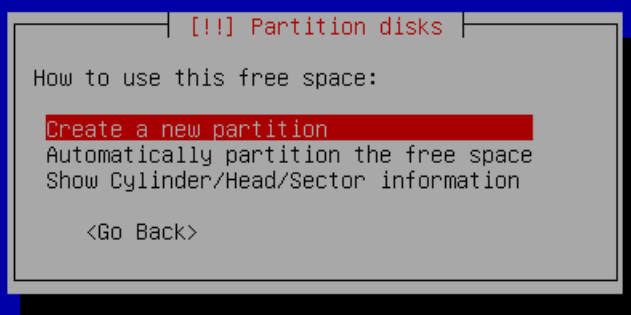
Size – maximum – default
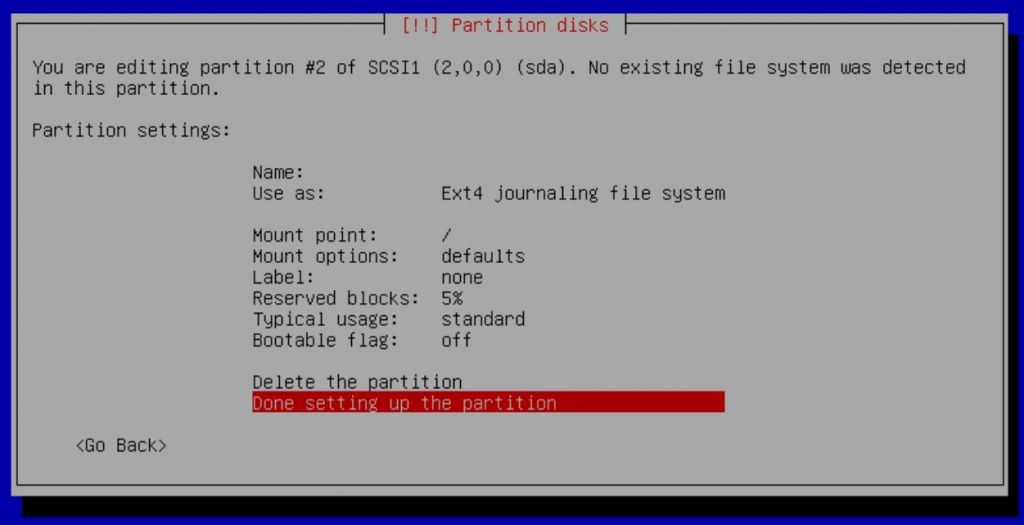
Complete configuring ‘/’ partition
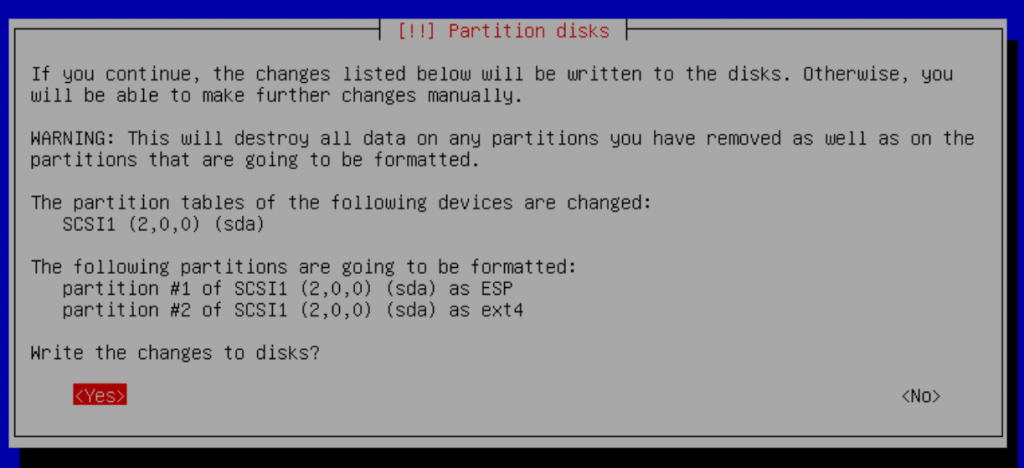
Finish the partitioning process
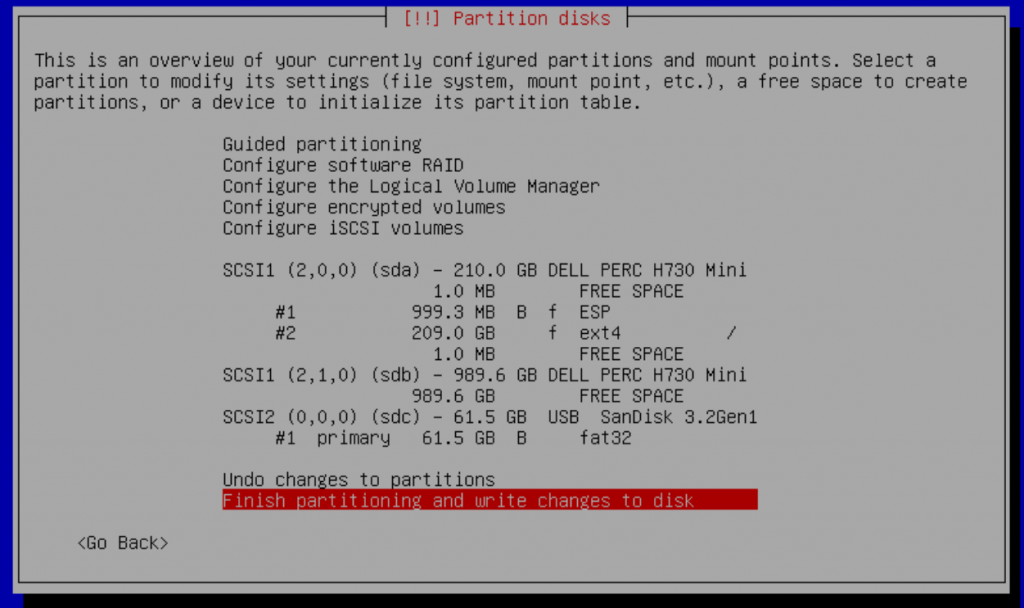
Confirm completion
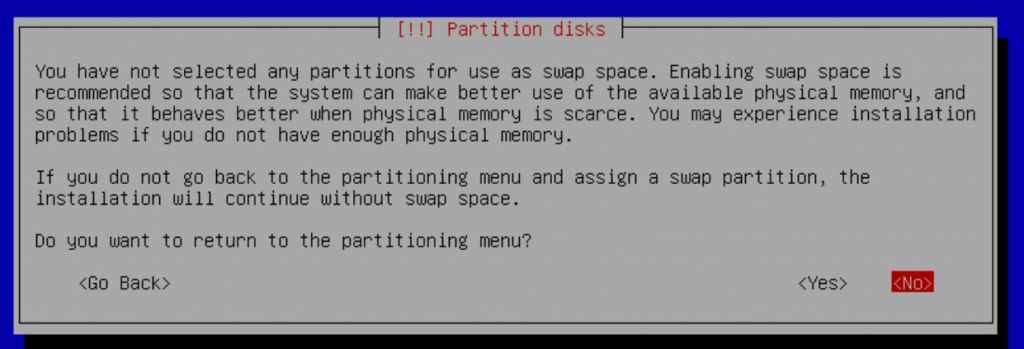
Double confirm changes to disk
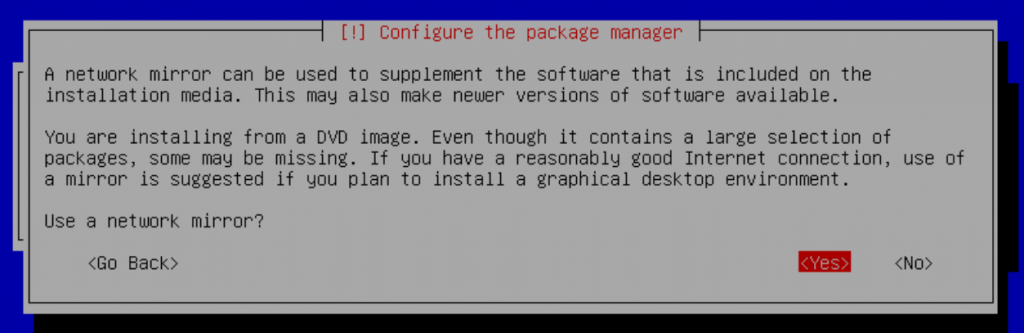
Yes, we need to configure the repository mirror
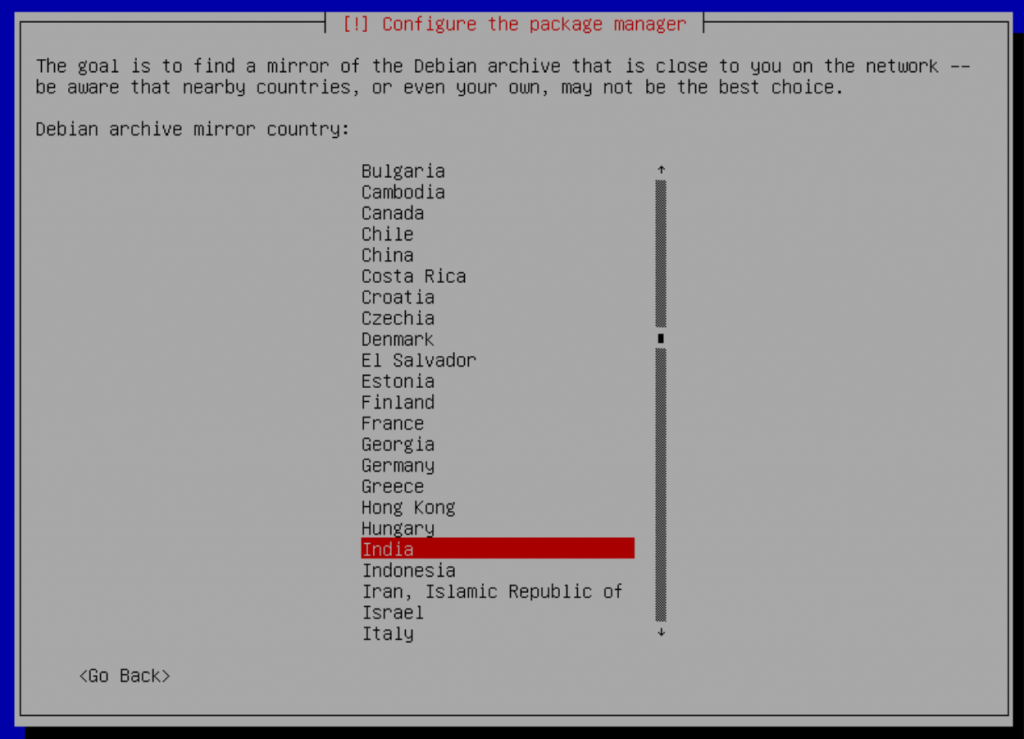
My preference for mirror server location – India.
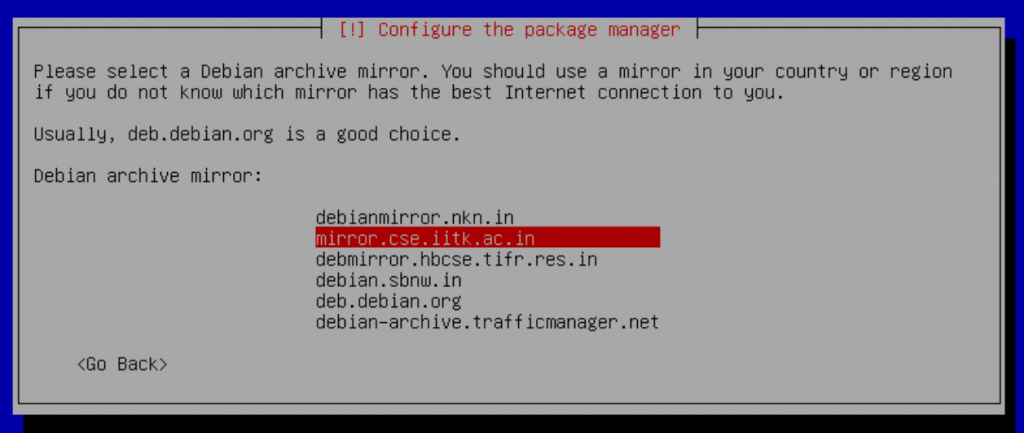
Choose a specific mirror server
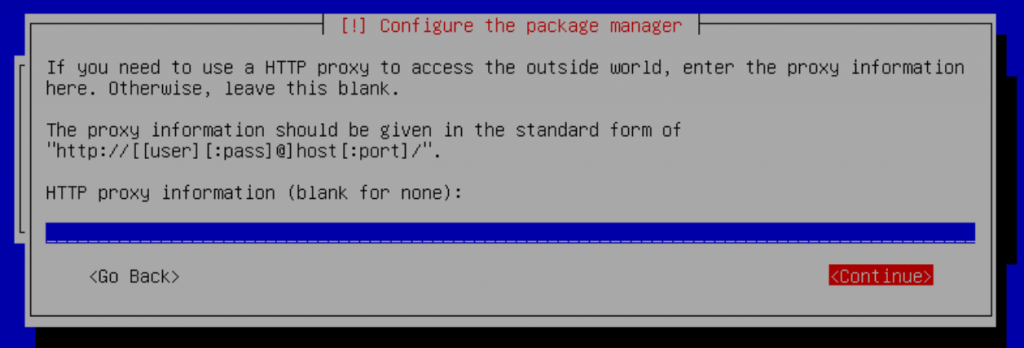
No proxy in my case
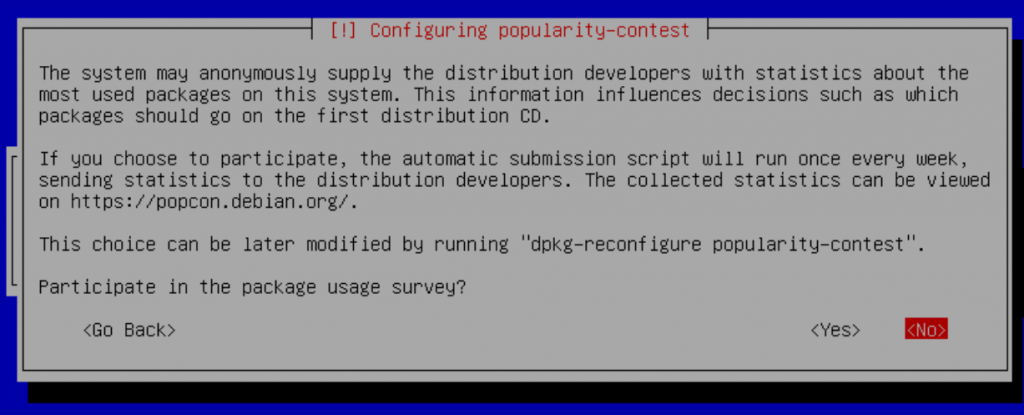
Not interested in survey
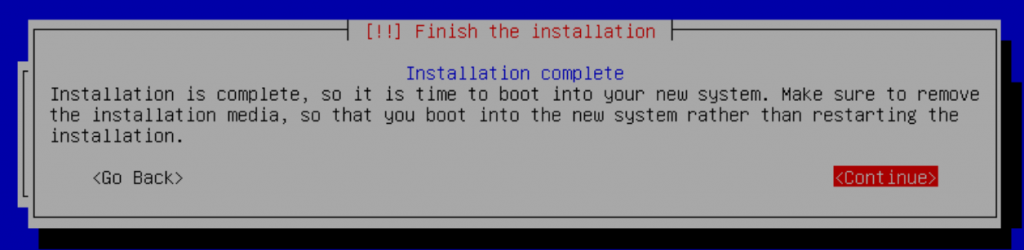
Installation complete – Remove the USB stick and press Enter
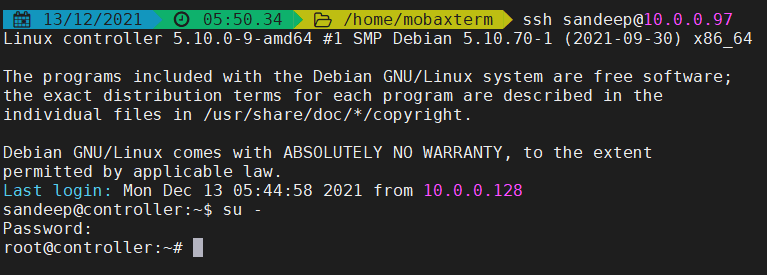
Login to the server using the non-root user account created during installation and switch to the root user (by default, we cannot log in as root user from remote)
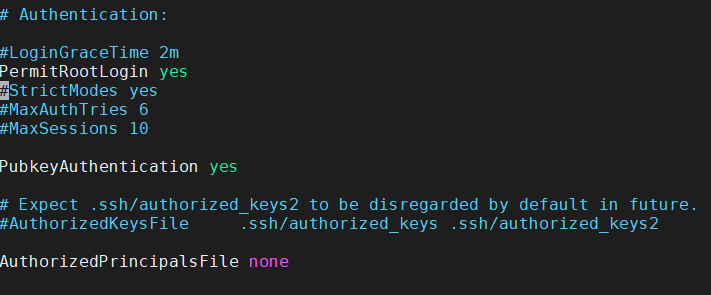
To enable remote login as root user and enabling passwordless ssh login edit /etc/ssh/sshd_config, uncomment the following configurations and update as shown below.
Restart sshd server
#service sshd restart Increase the maximum number of file descriptions and processes by adding the following configuration in /etc/security/limits.conf
*       soft    nofile  65536
*       hard    nofile  65536
*       soft    nproc   65536
*       hard    nproc   65536
Though not required always reboot after installation!