Need: QCOW2 image for orchestrating Debian 11 Server image with following customizations
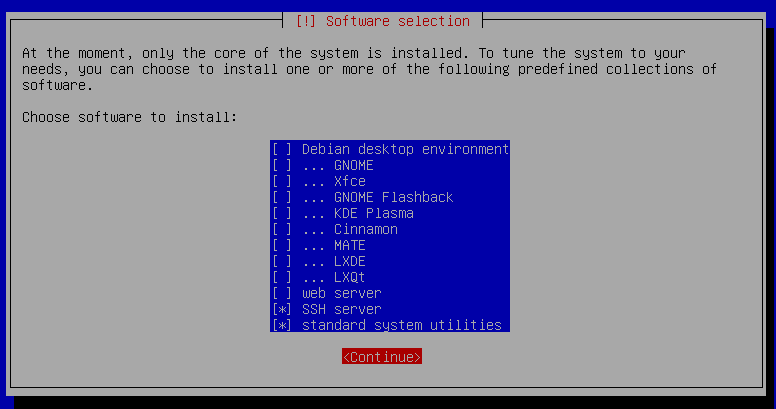
Basic server installation
'apparmor' disabled
Install required packages - zip, unzip, net-tools, cloud-guest-utils, sudo
Configure max number of open files and processes to 65536
SSH access to be enabled only from two specific subnets (private networks)
Custom resizedisk script which will be triggered on first boot to resize the disk to user allocated size.
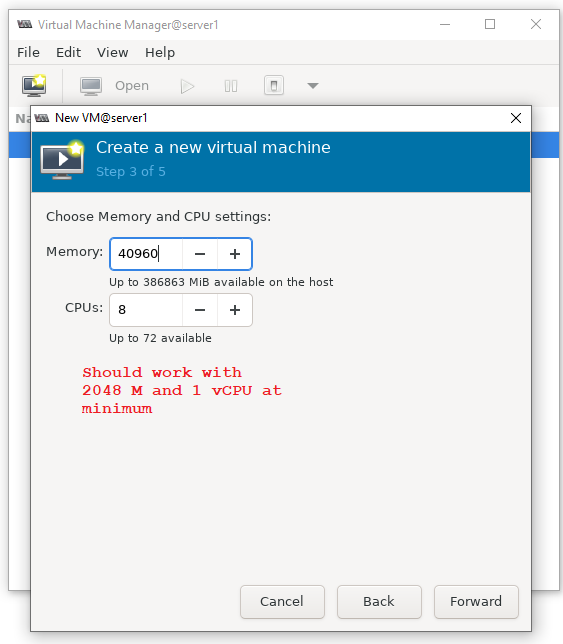
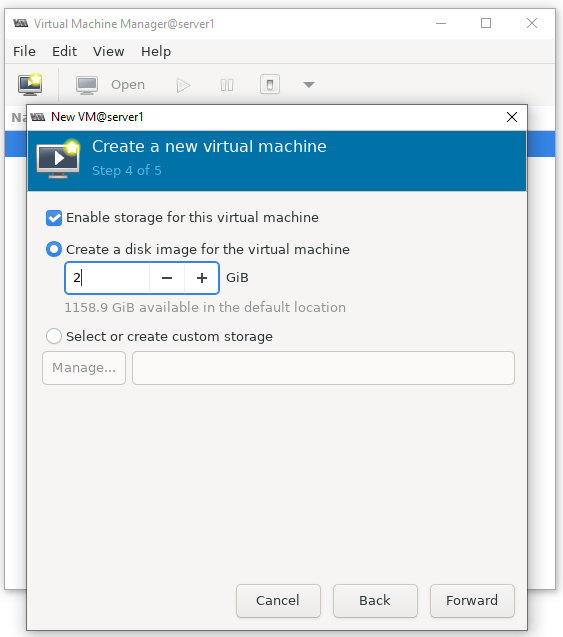
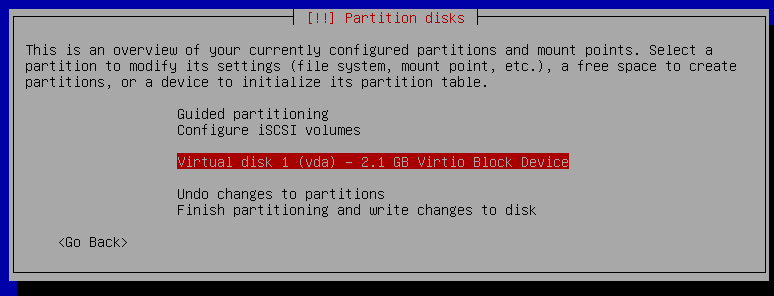
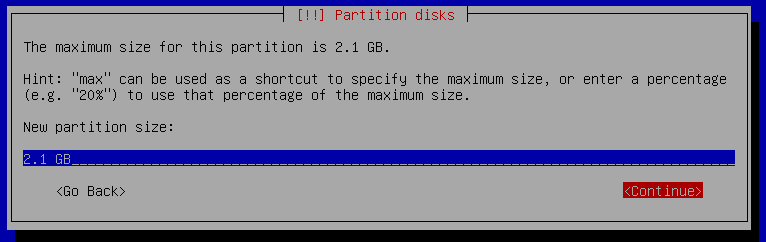
While creating the VM we will allocate 2G for storage which is sufficient for a headless server image.
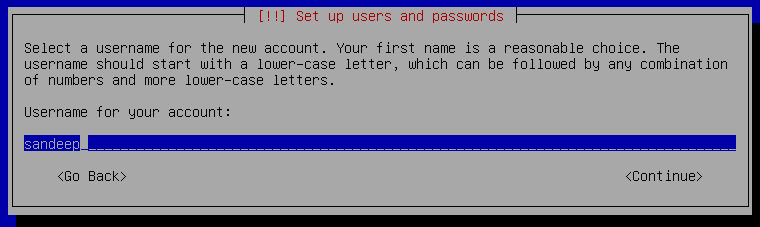
Create a user account with the name 'user' and add it to the sudo group
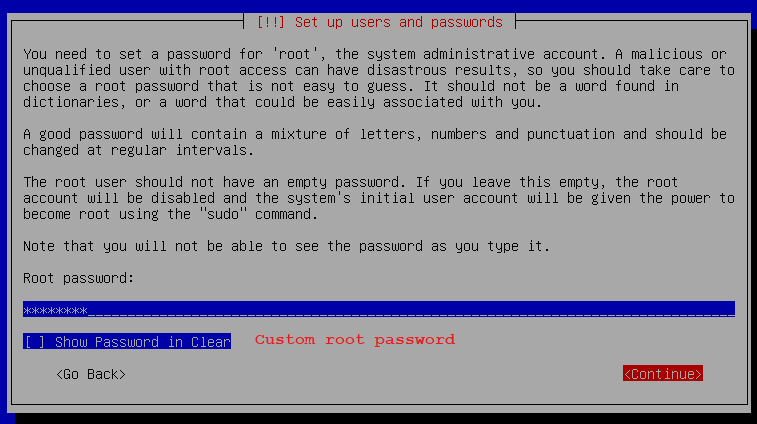
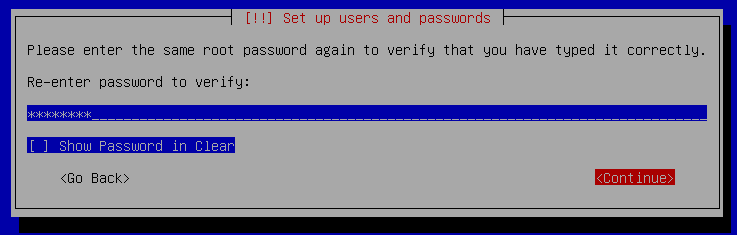
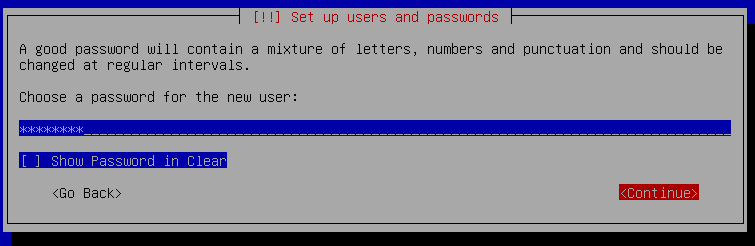
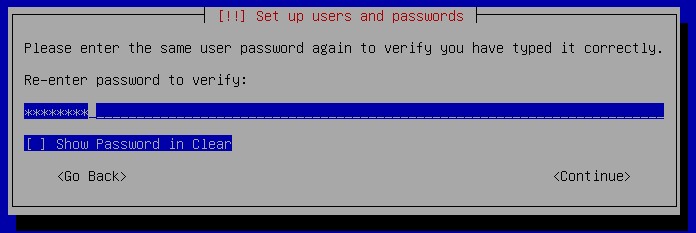
Set password for 'user' and 'root' account to a predefined standard password - We can enable enforcing of password change on first login.
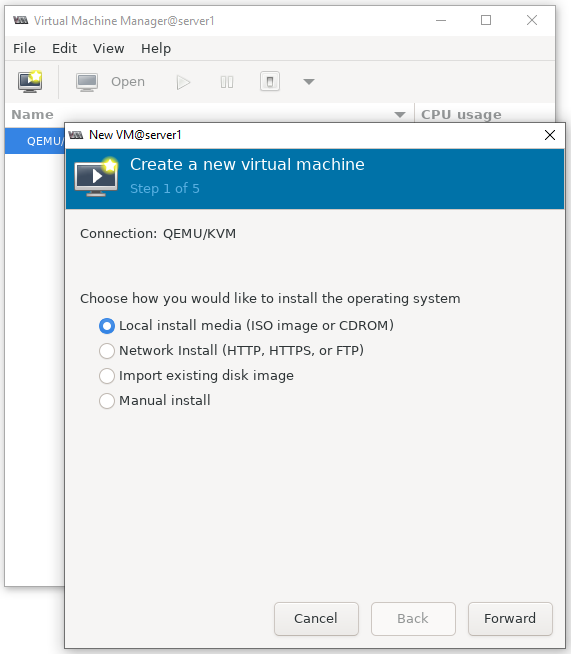
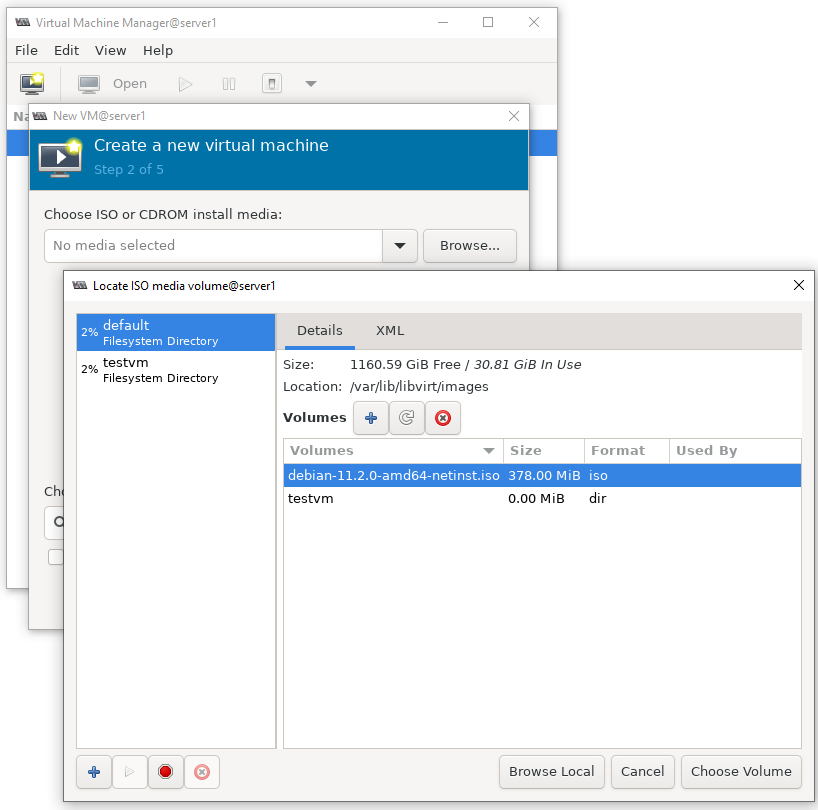
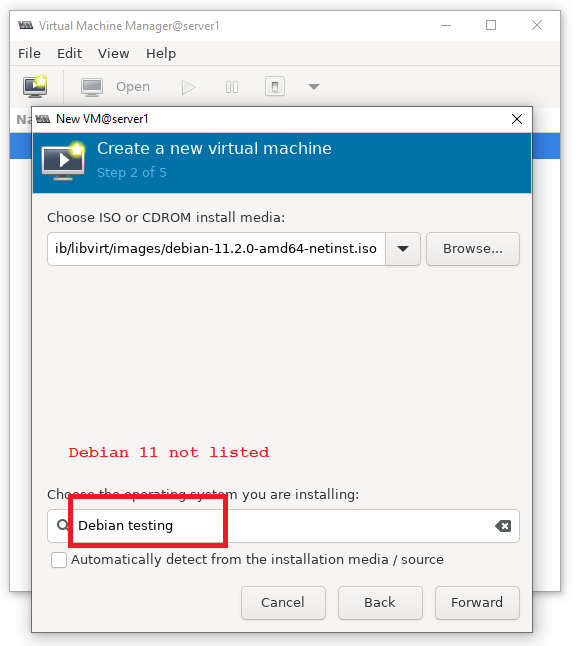
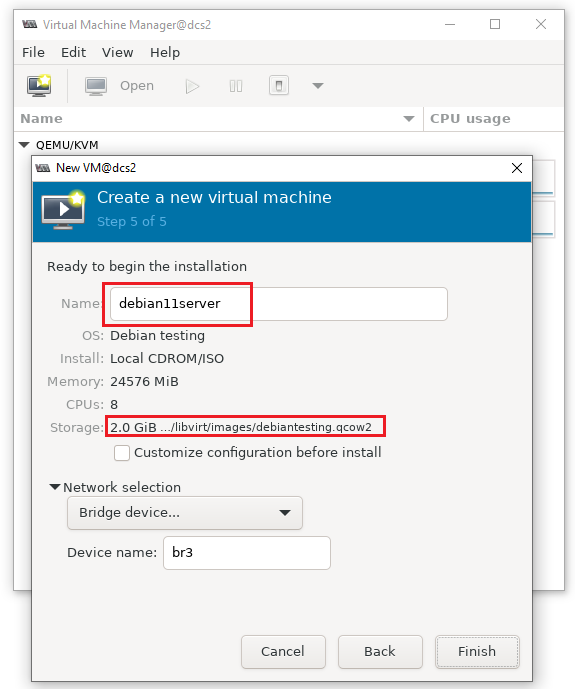
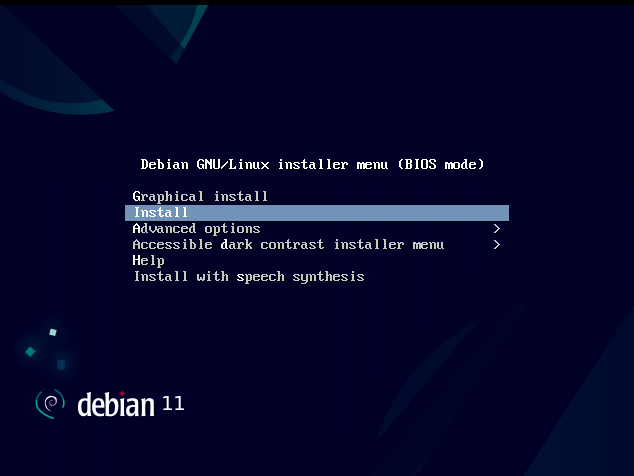
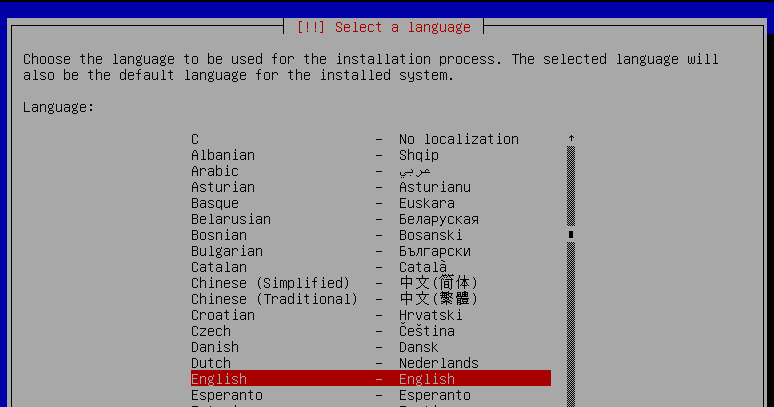
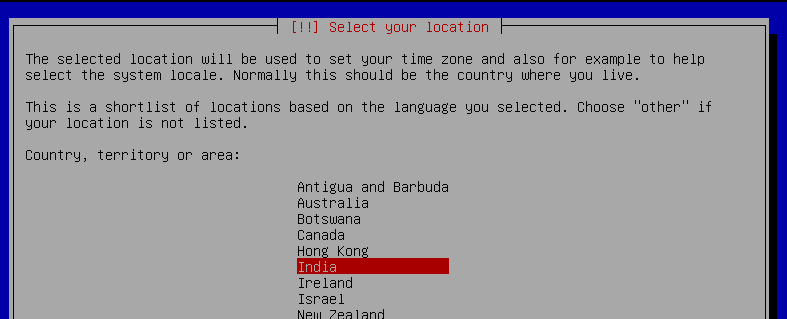
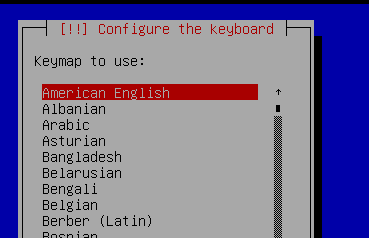
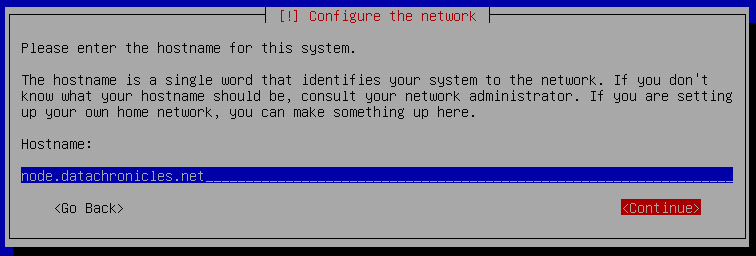
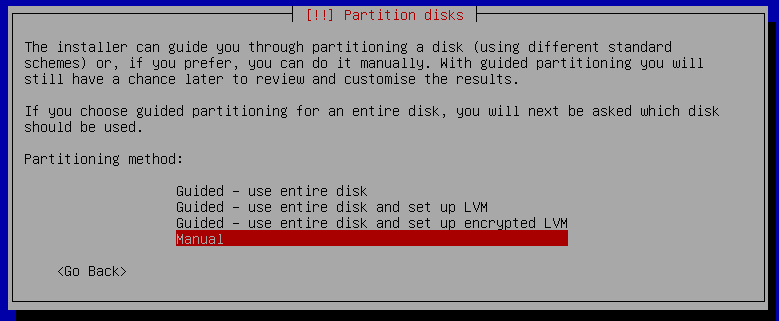
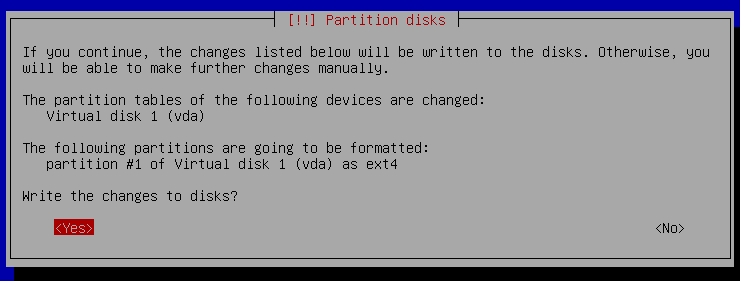
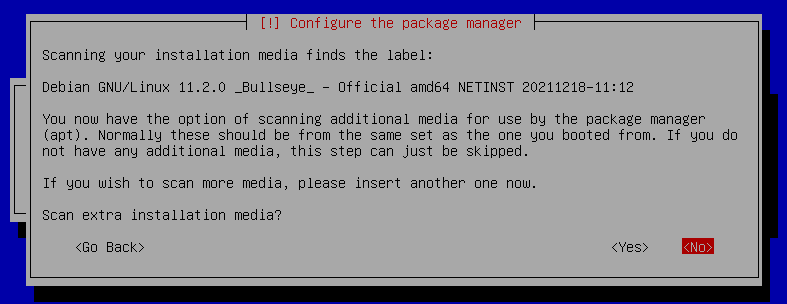
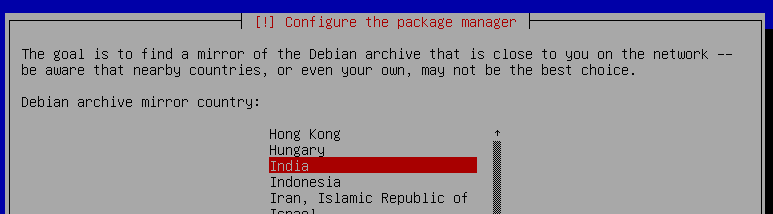
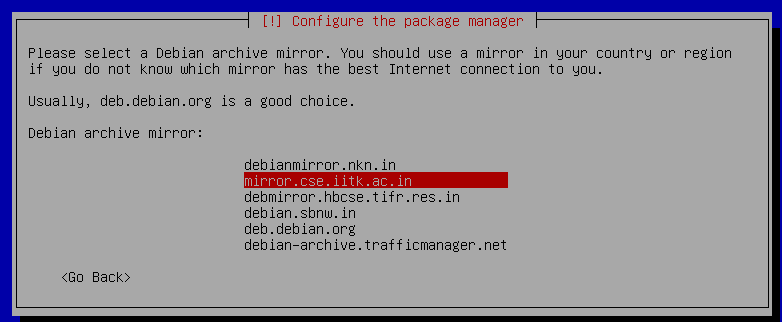
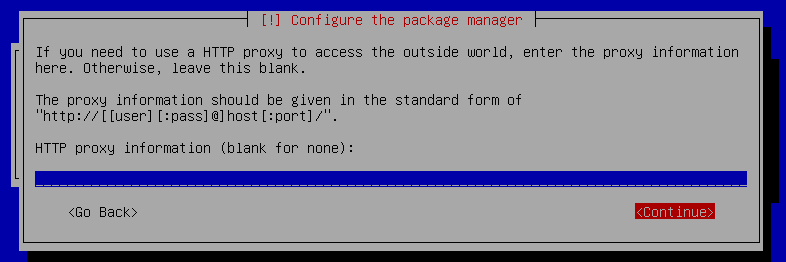
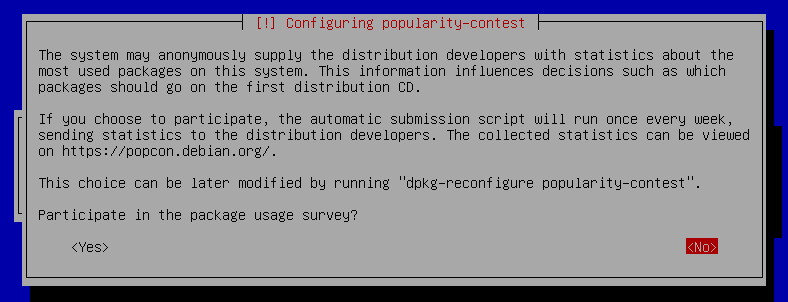
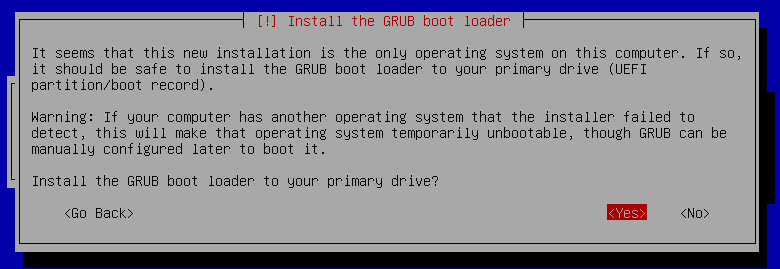
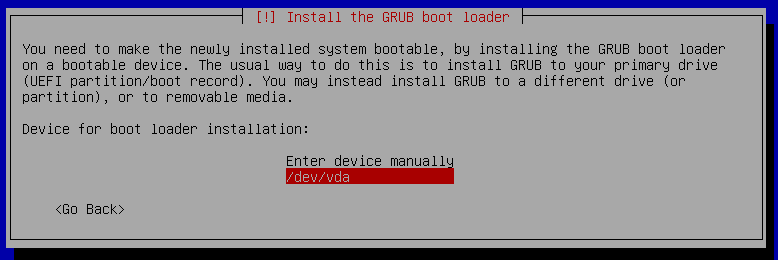
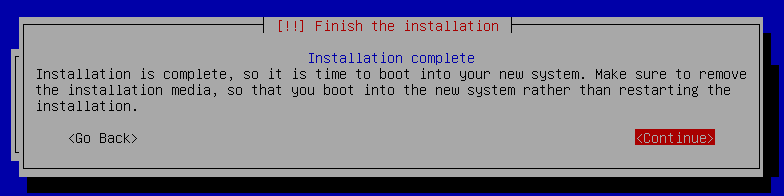
Launch virt-manager on the KVM host and proceed with File -> New virtual machine option. The following screenshots are self-explanatory on the sequence.


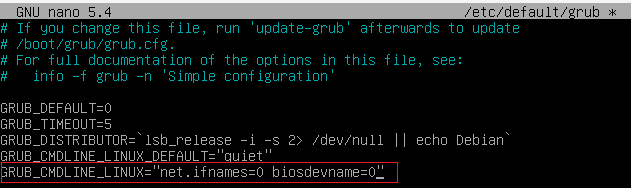
After reboot, first, let us disable the consistent device naming for network interfaces, we prefer to have legacy naming – deterministic for VM launching scripts (script can inject /etc/network/interfaces with eth0 specified). Edit /etc/default/grub and update the line “GRUB_CMDLINE_LINUX” as shown below and then execute update-grub.

Now that we are sure that the first interface will be eth0 – Update /etc/network/interfaces and configure eth0 with DHCP.
source /etc/network/interfaces.d/*

# The loopback network interface
auto lo
iface lo inet loopback

# The primary network interface
allow-hotplug eth0
iface eth0 inet dhcp
Add the following lines at the end of /etc/security/limits.conf – Configure the max file descriptor handles count and the max number processes count.
*    soft    nofile    65536
*    hard    nofile    65536
*    soft    nproc     65536
*    hard    nproc     65536
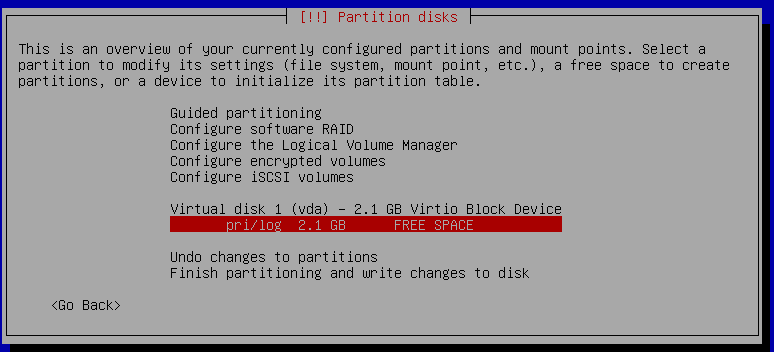
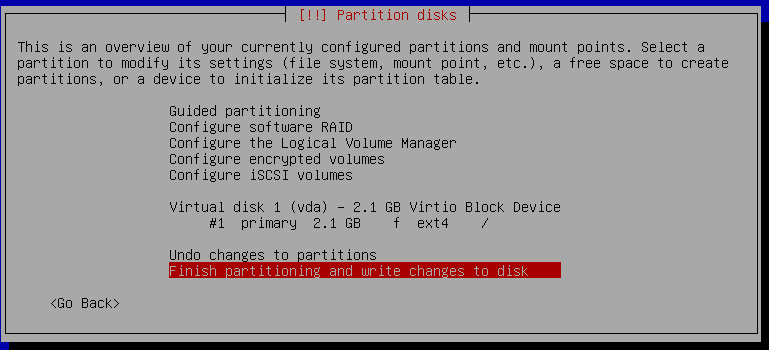
We are creating a VM with a 2G/4G disk size, but while launching VM we will allocate more as required, so the disk partition information has to be updated accordingly
Comment cdrom source for package installation
# sed -i 's/deb cdrom/#deb cdrom/g' /etc/apt/sources.list
Install required packages
# apt install cloud-guest-utils net-tools zip unzip sudo apt-transport-https curl gnupg lsb-release wget -y
Create a file /usr/local/bin/resizedisk with the following contents. This script will be executed on the first boot. The VM launcher script injects the first boot service/command while customizing the VM.
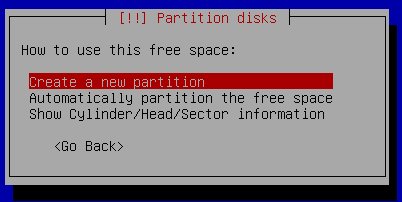
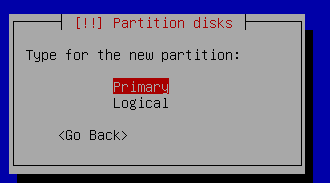
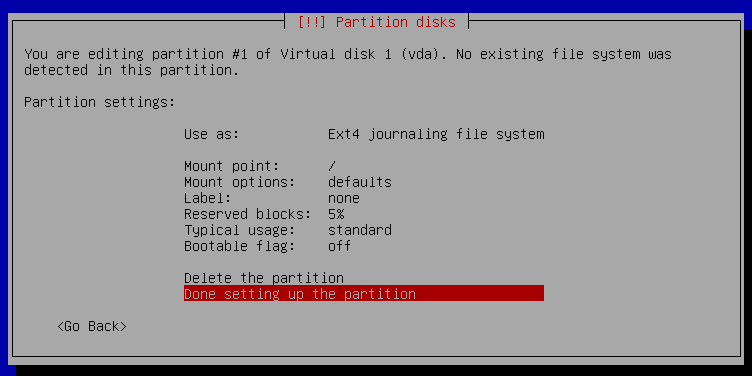
Note: The partition number (here 1) will depend on how you partition the disks. In my case, I preferred a single partition.
#!/bin/bash
growpart /dev/vda 1
partx --update /dev/vda1
resize2fs /dev/vda1
systemctl stop guestfs-firstboot.service
systemctl disable guestfs-firstboot.service
Set execute permissions to the resizedisk script.
# chmod +x /usr/local/bin/resizedisk
Add ‘user’ account to the sudo group
# usermod -aG sudo user
Restrict SSH access from 10.0.0.0/16 and 10.99.0.0/16 subnets. Edit /etc/ssh/sshd_config and add the following at the end of the file
PubKeyAuthentication no
PasswordAuthentication no

Match Address 10.0.*
    PubKeyAuthentication yes
    PasswordAuthentication yes
    PermitRootLogin yes
    AuthorizedKeysFile .ssh/authorized_keys .ssh/authorized_keys2

Match Address 10.99.*
    PubKeyAuthentication yes
    PasswordAuthentication yes
    PermitRootLogin yes
    AuthorizedKeysFile .ssh/authorized_keys .ssh/authorized_keys2
Stop, disable and mask apparmor services
# systemctl stop apparmor
# systemctl disable apparmor
# systemctl mask apparmor
Clear the history and shut down the VM – all done.
Copy the VM image /var/lib/libvirt/images/debian11server.qcow2 to the folder where base images are maintained.
# cp /var/lib/libvirt/images/debian11server.qcow2 /opt/kvmmanager/images/debian/